The Ultimate Yellowstone National Park 14-Hour Day Guide – With Videos!
Spoiler Alert: Yellowstone National Park is HUUUUGEEE! That may seem like common sense, but I really want to drive this home. Yellowstone is 2.2 million acres—over 3,400 square miles, and larger than Delaware and Rhode Island combined. So stuffing it “all” into one day is pretty ambitious, to say the least. But… if you’re going to give it a try, this Yellowstone National Park Planning Guide is the right place to start!
Now, I actually spent about 3.5 days in Yellowstone, one at each of the major junctions/areas: Mammoth Hot Springs, Canyon Village, Old Faithful & Grand Prismatic, and Norris Geyser Basin. To the uninitiated, that may seem like a lot of time, but it’s really not given the amount of cool stuff to see.
I highly suggest you plan for more than one day and spread these spots out. Just stopping at a random roadside spot or chilling to watch wildlife is part of the fun of Yellowstone. So in this “14-hour day guide” I’ll mention some other things to see beyond the major attraction, just in case you’re able to make a weekend out of it!
This site participates in the Amazon Services LLC Associates Program and other affiliate programs and may earn from qualifying purchases. You’re never charged more, but it helps out little by little! Check out “Privacy” in the top menu if you need to know more!
Basic Tips For Visiting Yellowstone National Park And For This Guide
- Most people visit our national parks between the hours of 10-6, so you’ll really benefit from the early and late hours! Notice in the videos that at the beginning and end of the days there are very few people around!
- Wifi and phone (thus GPS) signals are extremely hit or miss in Yellowstone, so I highly suggest a good waterproof map. Nat Geo’s Maps, of which I now own many, are just that. And they’re way more detailed than any free map you’ll snag in the park. (Protip: look for combo packs, like the Yellowstone/Grand Tetons pack, and save a few bucks.)
- With maps in mind, regarding roads, make sure they’re all open! Depending on the time of year in any of the national parks, some roads may be closed! (This Yellowstone guide is taking into consideration a typical midyear/summer span, FYI!)
- The speed limit in Yellowstone maxes at 45mph. That’s assuming no animal traffic jams or construction, of which there are many! I’ve factored in drive times and a mildly sufficient amount of time to explore the areas. But if you’re a huge photo/video nerd like me, you may want to shoot for the 2-3 day plan!
- I highly suggest a good guidebook. I’ve been using this one as I travel the US to many national parks, and it has a lot of the “secrets” of rangers and staff that live in the parks.
- Thermal features like geysers and thermal pools are most awesome when it’s cooler because of the hot/cold effect, so mornings or evenings are best.
- If you do plan to overnight in the park you really have to make reservations early! This will save you so much heartache and time. Just trust me on this one…or watch the Canyon video for a real-life lesson.
- Be flexible and go with the flow! Some of the most amazing parts of Yellowstone National Park that I found weren’t necessarily the main sights. Explore and realize that you can’t possibly see it all, but what you are able to see is epic in its own right!
North To South Or South To North In Yellowstone?
This Yellowstone guide takes you from north to south, but you could definitely go south to north. Yes, I do skip the Yellowstone Lake area, because unfortunately there had to be a casualty or two due to time constraints!
Again, Yellowstone National Park is just freaking huge. And let’s be honest, you’ve seen a lake before, haha! Yes, Yellowstone Lake is the largest alpine lake in the United States at 136 square miles…but…still just looks like a lake to me.
Yellowstone Guide Stop No. 1, 7am: Mammoth Hot Springs (1.5 hour stop)
Did you know that Yellowstone is the home of more than 10,000 geothermal features?! It’s actually one of the largest concentrations in the world! Like I mentioned already, these are best enjoyed when the weather is cooler, so early morning or late evening…or even midnight!
Drive into the Mammoth Hot Springs “Upper Terrace Drive” as early as you can get your groggy little ass up. Just after entering go ahead and park in the main parking area, it’s time to stop and smell the…sulfur? From here you’ll want to explore all of the lower terraces, especially making sure to take the side boardwalk to Angel Terrace (image below). It’s an out-and-back boardwalk with the best side view of Angel Terrace.
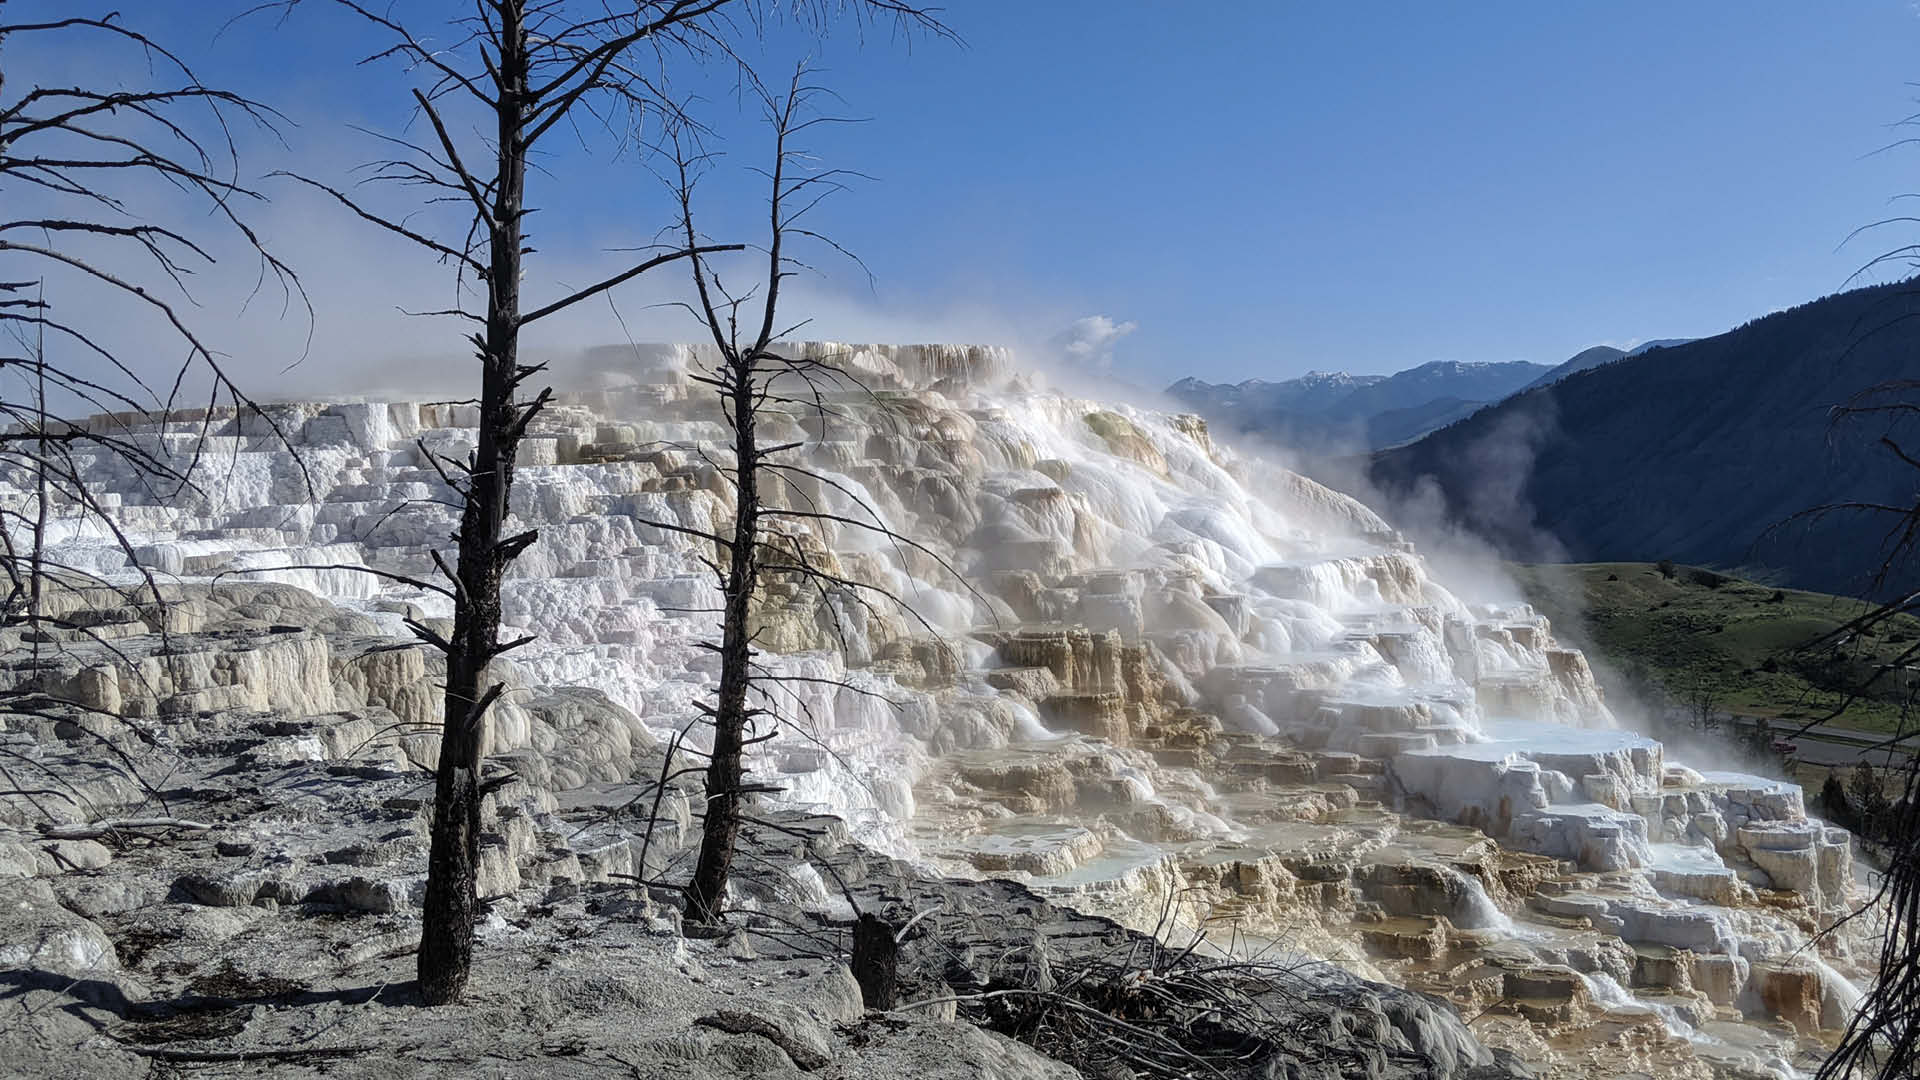
Once you’ve got your fill of the Mammoth Hot Springs Lower Terraces, enjoy the slow drive all the way to the upper terraces area. Personally, I suggest parking again near the top and exploring a little bit more. Every little feature is so unique it’s worth it while you’re here!
Mammoth Hot Springs Area: If you have time…
If you’re in need of that second (or third…) cup of coffee, head into the Historic Fort Yellowstone area and fuel up. When I visited in early summer there were elk everywhere! They were literally lounging within 10 feet of brave people drinking coffee on the front patio of their cabins! The visitor center doesn’t open until 9am, but it’s worth stopping in if you have a few minutes.
When you’re ready, start the 1-hour drive to the Tower-Roosevelt Junction. There’s room in that hour for a stop or two, so enjoy. Don’t worry, you can grab second breakfast or first lunch over there!
Yellowstone Stop No. 2, 9:30am: Tower Junction & Roosevelt Lodge (1 hour stop)
As you get close to Tower Falls you’ll pass by Roosevelt Lodge right at the Tower Junction. If you’re hankering for a good sit-down breakfast, the Roosevelt Lodge Dining Room will do the trick. If not, there’s a store/eatery at Tower Falls. Regardless, you should at least swing into the lodge area and have a sit on the large cabin porch. Those rocking chairs aren’t going to rock themselves after all.
Just south of Tower Junction and Roosevelt Lodge is the actual Tower Falls. Now, in my opinion, this is one of the less than enamoring stops on this itinerary. With that said, it’s still worth the stop to take the short trail from the parking area up to the view of the 130+ foot, beautiful falls. Check out the gift shop and grab a bite to eat, because you’ll do a lot of walking at the Canyon Village Junction area up next, after the 45-minute drive.
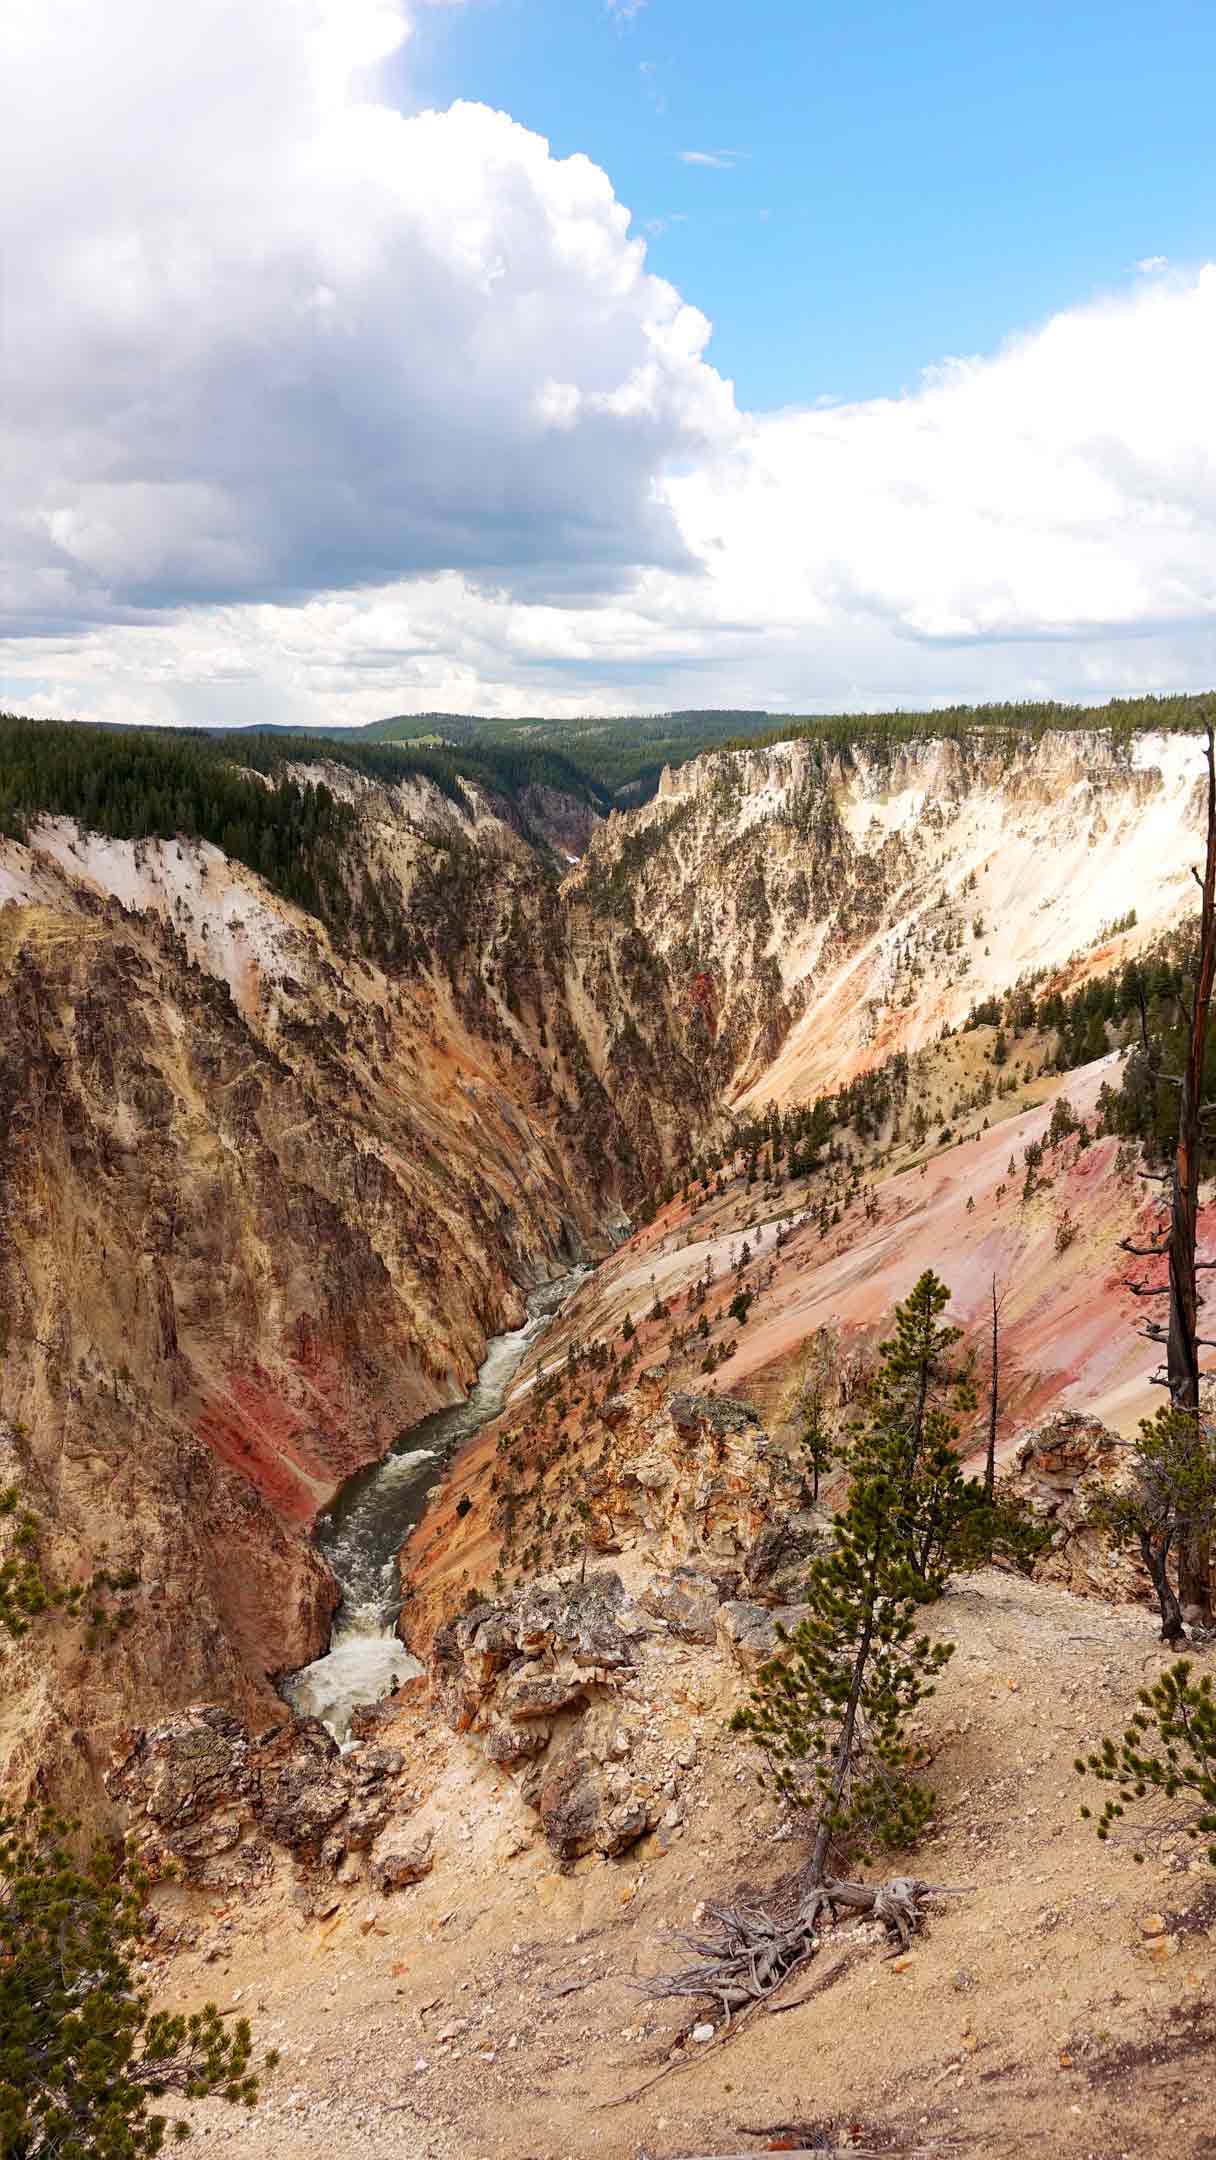
Yellowstone Stop No. 3, 11:15am: Canyon Village, The Upper And Lower Falls, And Artist’s Point (3 hour stop)
Canyon Village in Yellowstone is one of the more bustling areas of the park, for sure. You have all of the amenities here if you need them, including hotels, showers, laundry, etc. So with that, keep in mind that you’ll be hitting the area at lunchtime for most, which is why I suggest staggering your meals to avoid lunch during peak time. Have a snacky-snack, my friend.
I do highly suggest spending a little time in the visitor’s center before checking out the scenery though. This (along with Old Faithful’s) is definitely one of the more impressive visitor’s centers. And understanding exactly what Yellowstone is (can you say highly active volcano?) is pretty important in my opinion! Once you’ve got your knowledge on, head out towards the North Rim Views.
READ NEXT: Travel Medical Insurance, Pre-Existing Conditions, & Type 1 Diabetes
Sleep in A Jeep Wrangler!? JKU Bed Platform & Storage Step-By-Step How To Build It
Nomad Fuel: Books for Inspiration, Motivation, & Generally Slaying it at Adulting
The North Rim of Yellowstone National Park: Canyon Village, Lower Falls & the Red Rock Point Trail
At this time of day, parking is going to be pretty dicey. But find a pullout spot as soon as possible, or at the main parking area near Lookout Point, along the one-way road. What you’re shooting for here is to be near the Red Rock Point Trail, which in my opinion is the best, most secluded viewpoint for seeing the Upper Falls of Yellowstone National Park. It’s a twisty AF, .25 mile out-and-back switchback trail with about 250’ in elevation change, but well worth the effort!
After taking in the beautiful view, feel free to look around the area a little bit more. With that said, you can head to the South Rim where you’ll get views of the Upper Falls, Artist’s Point, and if you’re up for it, a hike down closer to the river.
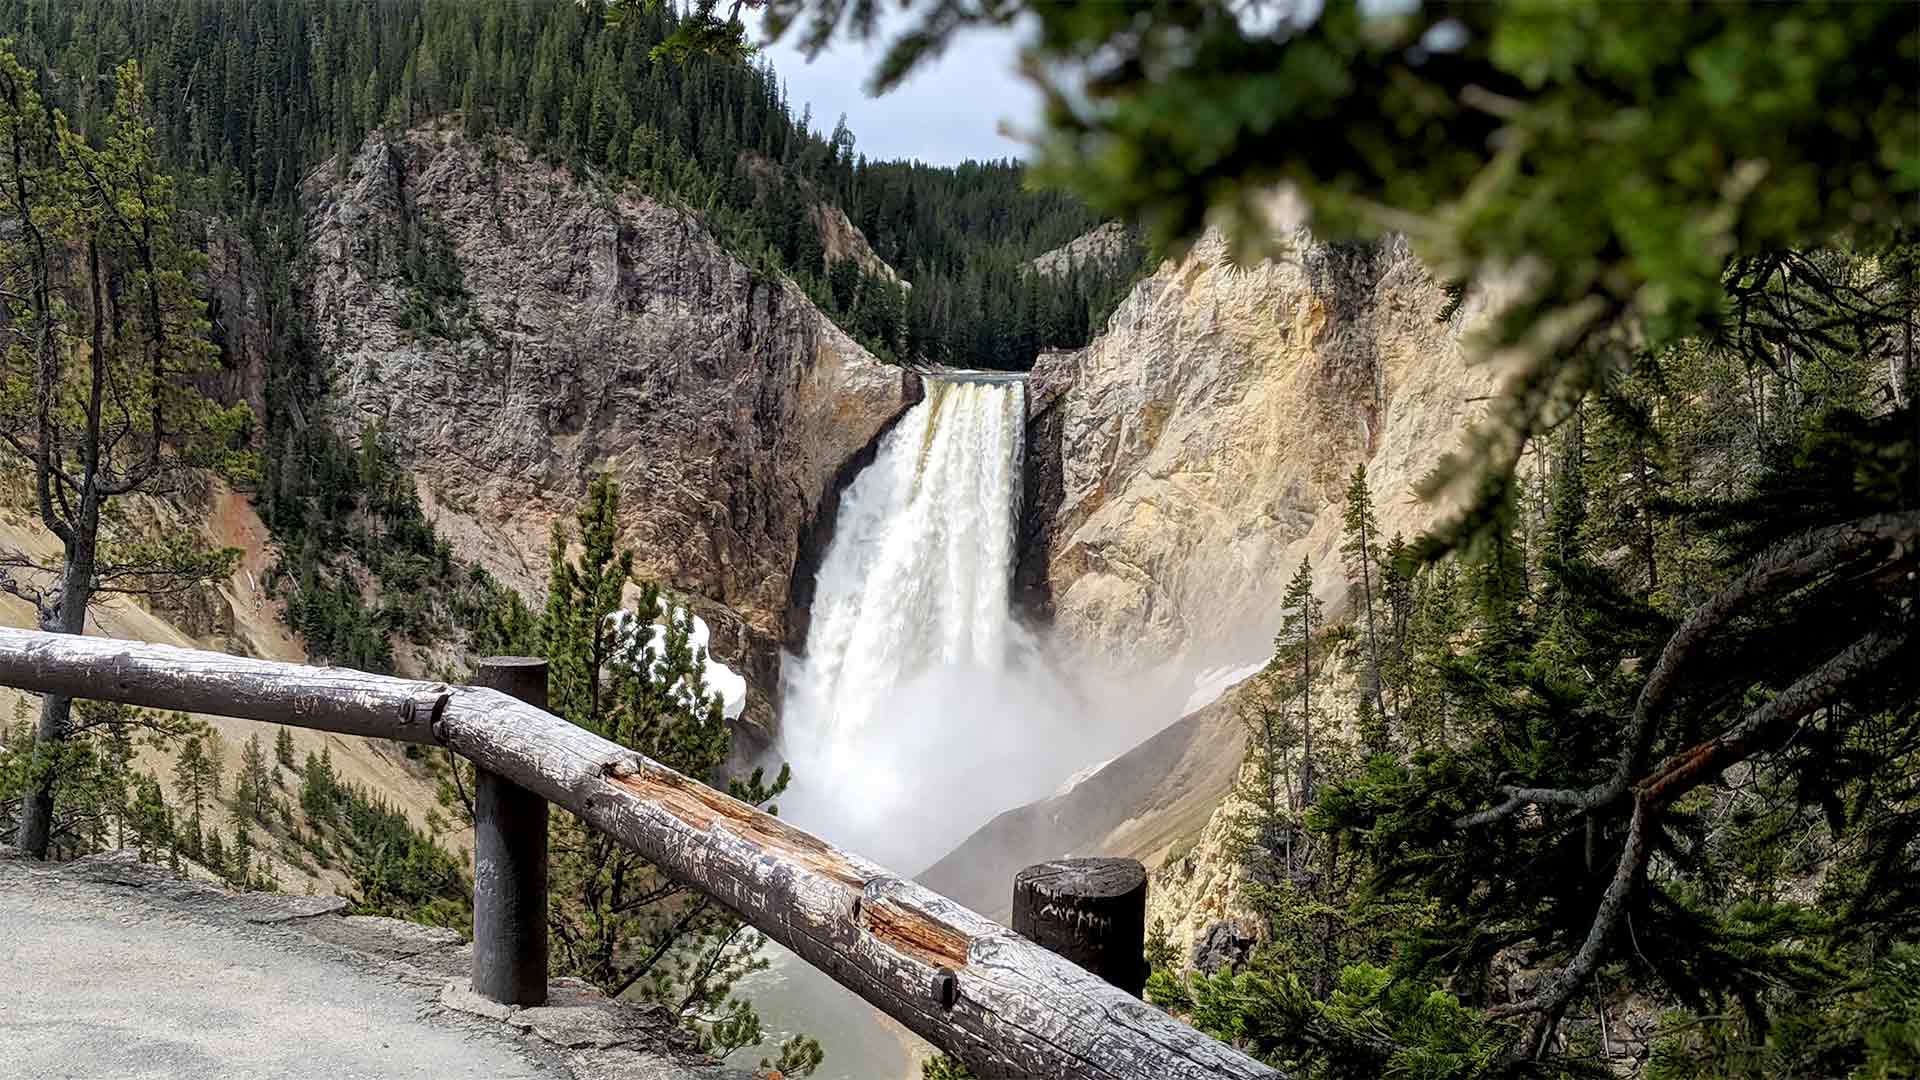
The South Rim of Yellowstone Canyon: Artist’s Point & Uncle Tom’s Trail & The Upper And Lower Falls
Artist’s Point is a simple, beautiful viewpoint of the entire Grand Canyon of Yellowstone National Park. While somewhat misnamed, it’s still an absolutely stunning view. My suggestion is to take it in from the viewing platform, but also to head right (if viewing the canyon) from there, a quarter mile or so on the footpaths, to view most people don’t spend the effort to see.
After that, if you’re looking for another rewarding view of the Lower Falls, head to Uncle Tom’s Trail. Of course, for the reward of one of the lowest, closest views of the falls, you’ll have to work for it. The trail is essentially a 300 step wooden stairwell down the side of the canyon with over 350’ of elevation change. Don’t worry, you got this. And if you’re Jonesin’ to see another amazing canyon hike, the Zion National Park Narrows should be on your list!
Next, Drive to Norris Geyser Basin, about 45 minutes.
Yellowstone National Park Stop No. 4, 3:00pm: Norris Geyser Basin (1 hour stop)
Norris Geyser Basin was easily one of the most unexpected stops I made in Yellowstone. It’s funny, because I actually camped less than a mile from it for three nights, at the Norris Geyser Basin Campground. So this is one spot I highly recommend you check out.
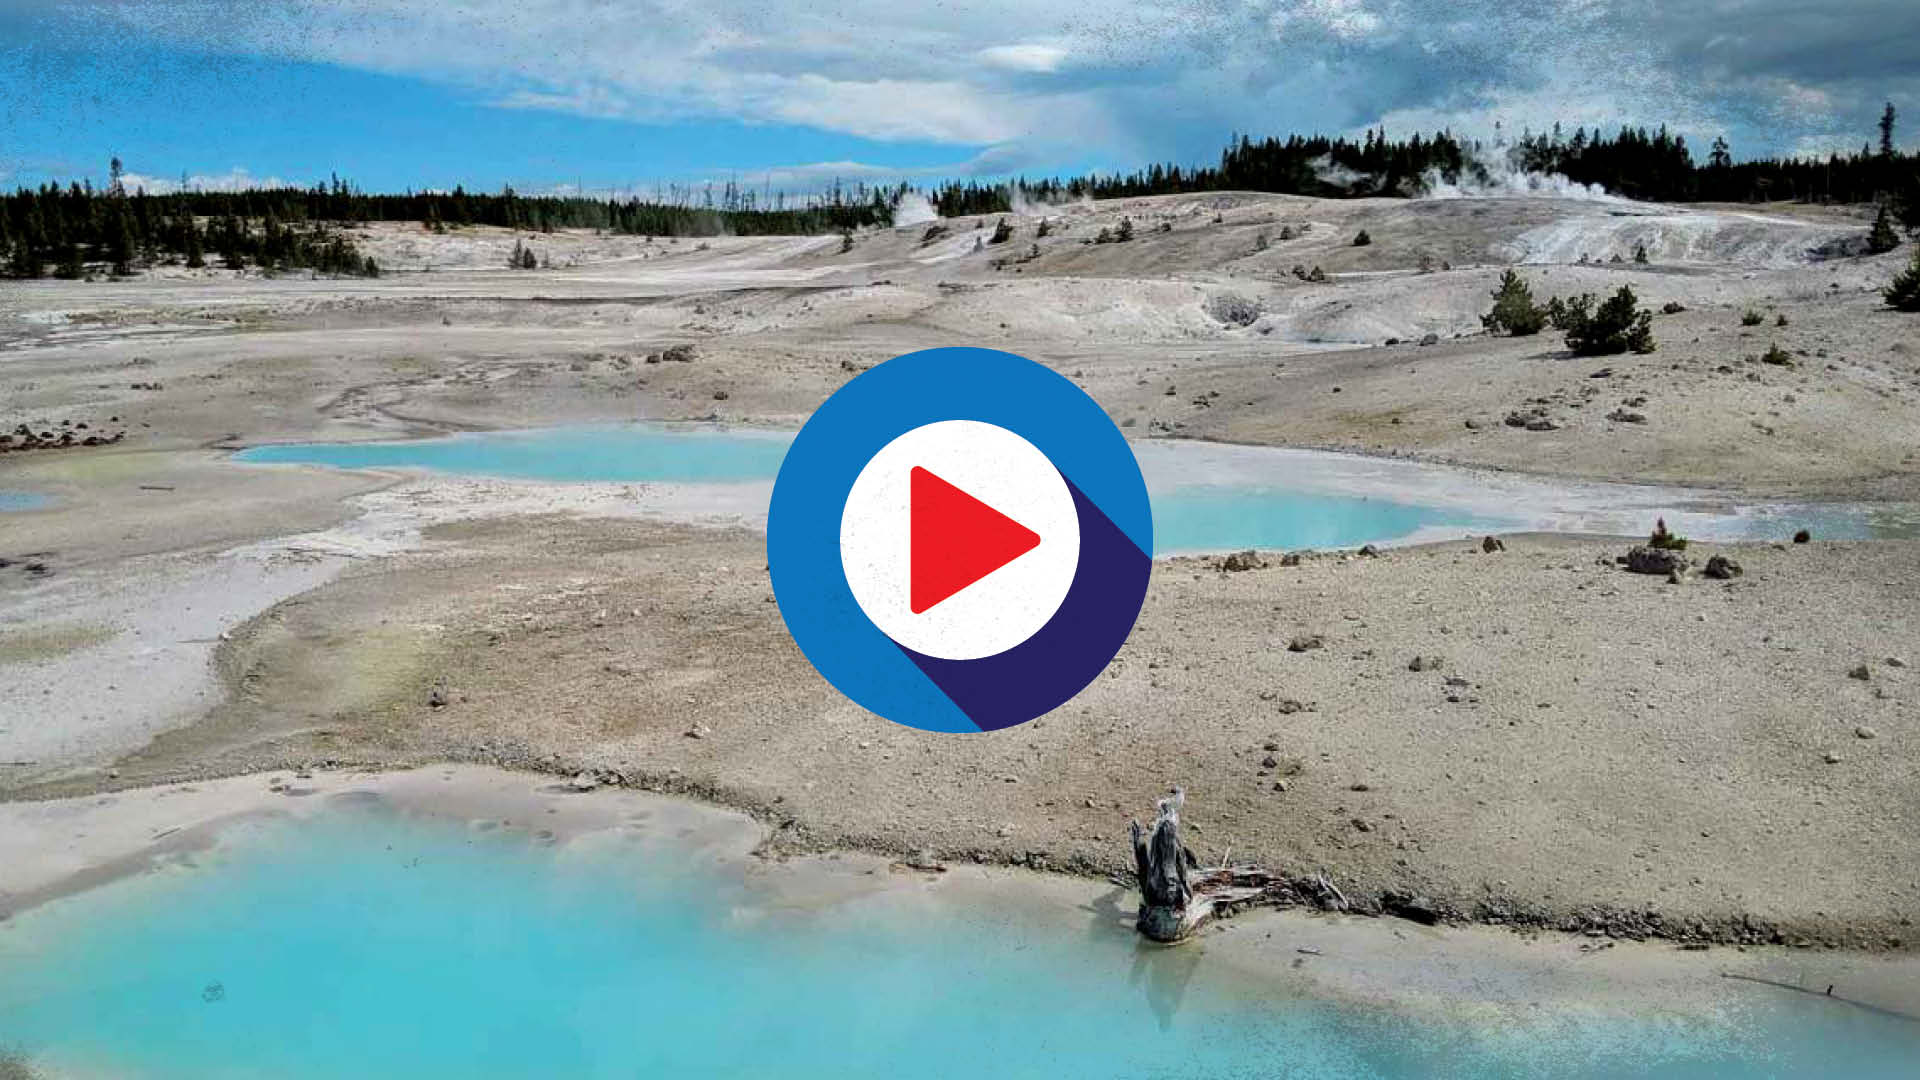
Norris Geyser basin is broken into two parts: The Back Basin—full of geysers and hot springs, and the Porcelain Basin—full of amazing colored thermal pools. The Back Basin will have you walking through pine tree forests while surrounded by features, and occasionally opening up into stunning vistas. The Porcelain Basin is wide and desolate, which allows you to take in nearly 360° views of amazing thermal features. (Here’s the full lowdown on Norris Geyser Basin if you want to read/see more!)
Connect & Share This Article
The really neat thing about Norris is that you’re able to get extremely close to most of the features. Usually close enough to be misted by the spitting geysers. In the case of Steamboat Geyser, you could see the largest active geyser in the world erupt, if you’re lucky! It has seen an amazing increase in activity in recent years, so there’s a chance. It’s more than double the size of the Old Faithful Geyser, at over 300’, and the viewing platforms are less than 50’ from it!
Drive one hour to Old Faithful. Yes, we’ll backtrack to Grand Prismatic. Don’t worry, there’s method to my madness… Make sure Drive through Firehole Canyon road!
Yellowstone Stop No. 5, 5:00pm: Old Faithful & The Upper Geyser Basin (2 hour stop)
Of course, no guide of Yellowstone would be complete without a stop at the Old Faithful geyser. The nice thing about Old Faithful and the Upper Geyser Basin area is that there’s plenty of room for everyone. (Here’s another post with a Baker’s Dozen of Badass Photos of the area!) Because of the popularity of the timely geyser, there is literally room for hundreds to easily view its eruptions.
So your first job, if you haven’t yet, is to check anywhere onsite for the next estimated eruption. Since you’re spending an hour here, just plan to be at the viewing platform 15 minutes prior, then start exploring the rest of Upper Geyser Basin.
READ NEXT: (Nerd Alert!) Buying A Wall Map of the World Helped Completely Change My Travel Perspective
What The Heck Is The Schengen Zone? How U.S. Passport Holders Travel Europe For Months On End
This is another place where you can get quite close to the features. The accessible, asphalt trails also make it quite easy for anyone to get around and enjoy, so mobility issues are less of an issue. I also highly recommend the visitor center at Old Faithful, as it’s another extremely well-designed educational opportunity. Learn how those geysers work and you’ll appreciate it a little more!
Spend a couple of hours here, taking in Old Faithful when it’s ready, and then head back north. Now you can make a choice of either Black Sand Basin or Biscuit Basin before capping off the trip at Grand Prismatic. 15-minute drive.
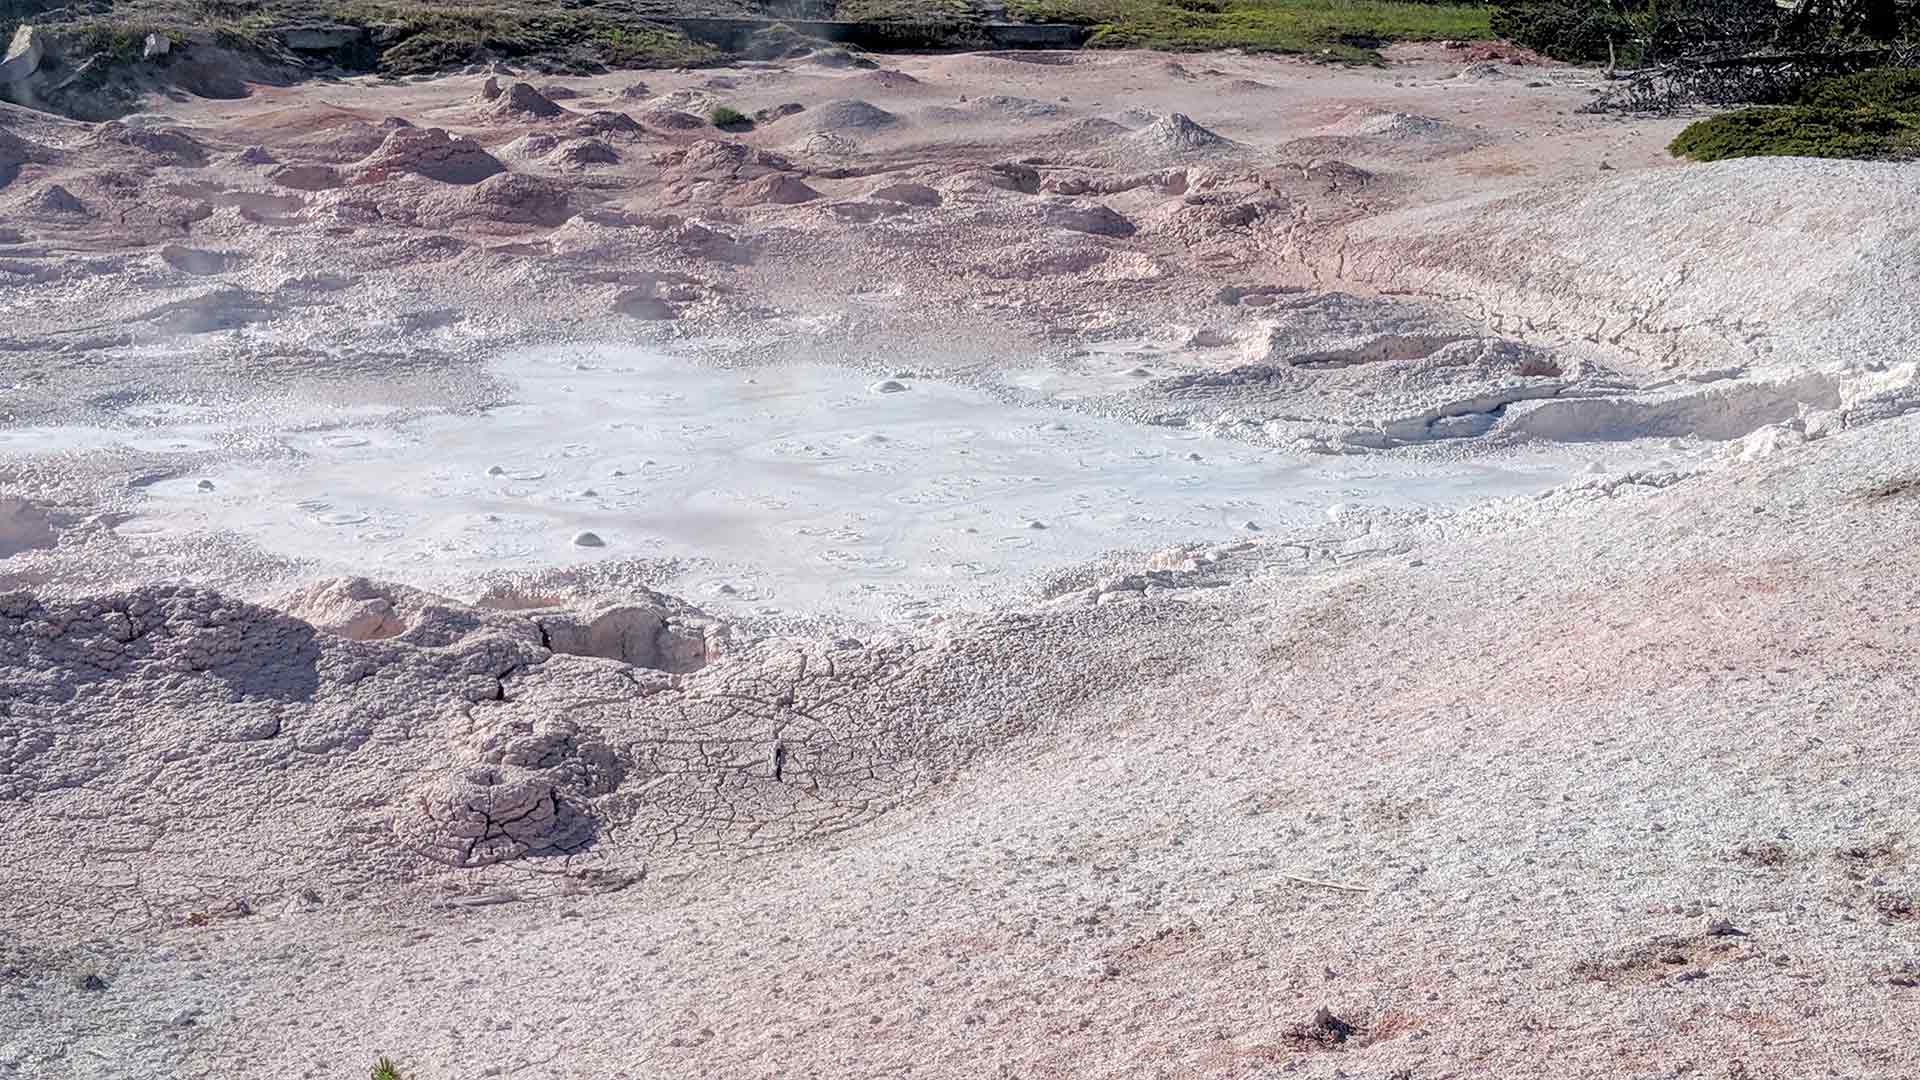
Yellowstone National Park Stop No. 6, 7:15pm: Black Sand Basin or Biscuit Basin (45 minute stop)
Not gonna lie, I’m quite partial to Black Sand Basin, since it has a couple Mud Pots (see image above)! But you really can’t go wrong choosing either Biscuit Basin or Black Sand Basin. They’re both boots-on-the-ground, close to the action boardwalk excursions that get you right up on the action.
This is also kind of a stall, giving a little more time for crowds to dissipate from Grand Prismatic, one of the more crowded, popular spots in Yellowstone. When you’re ready, take the short 15 minute drive to Grand Prismatic.
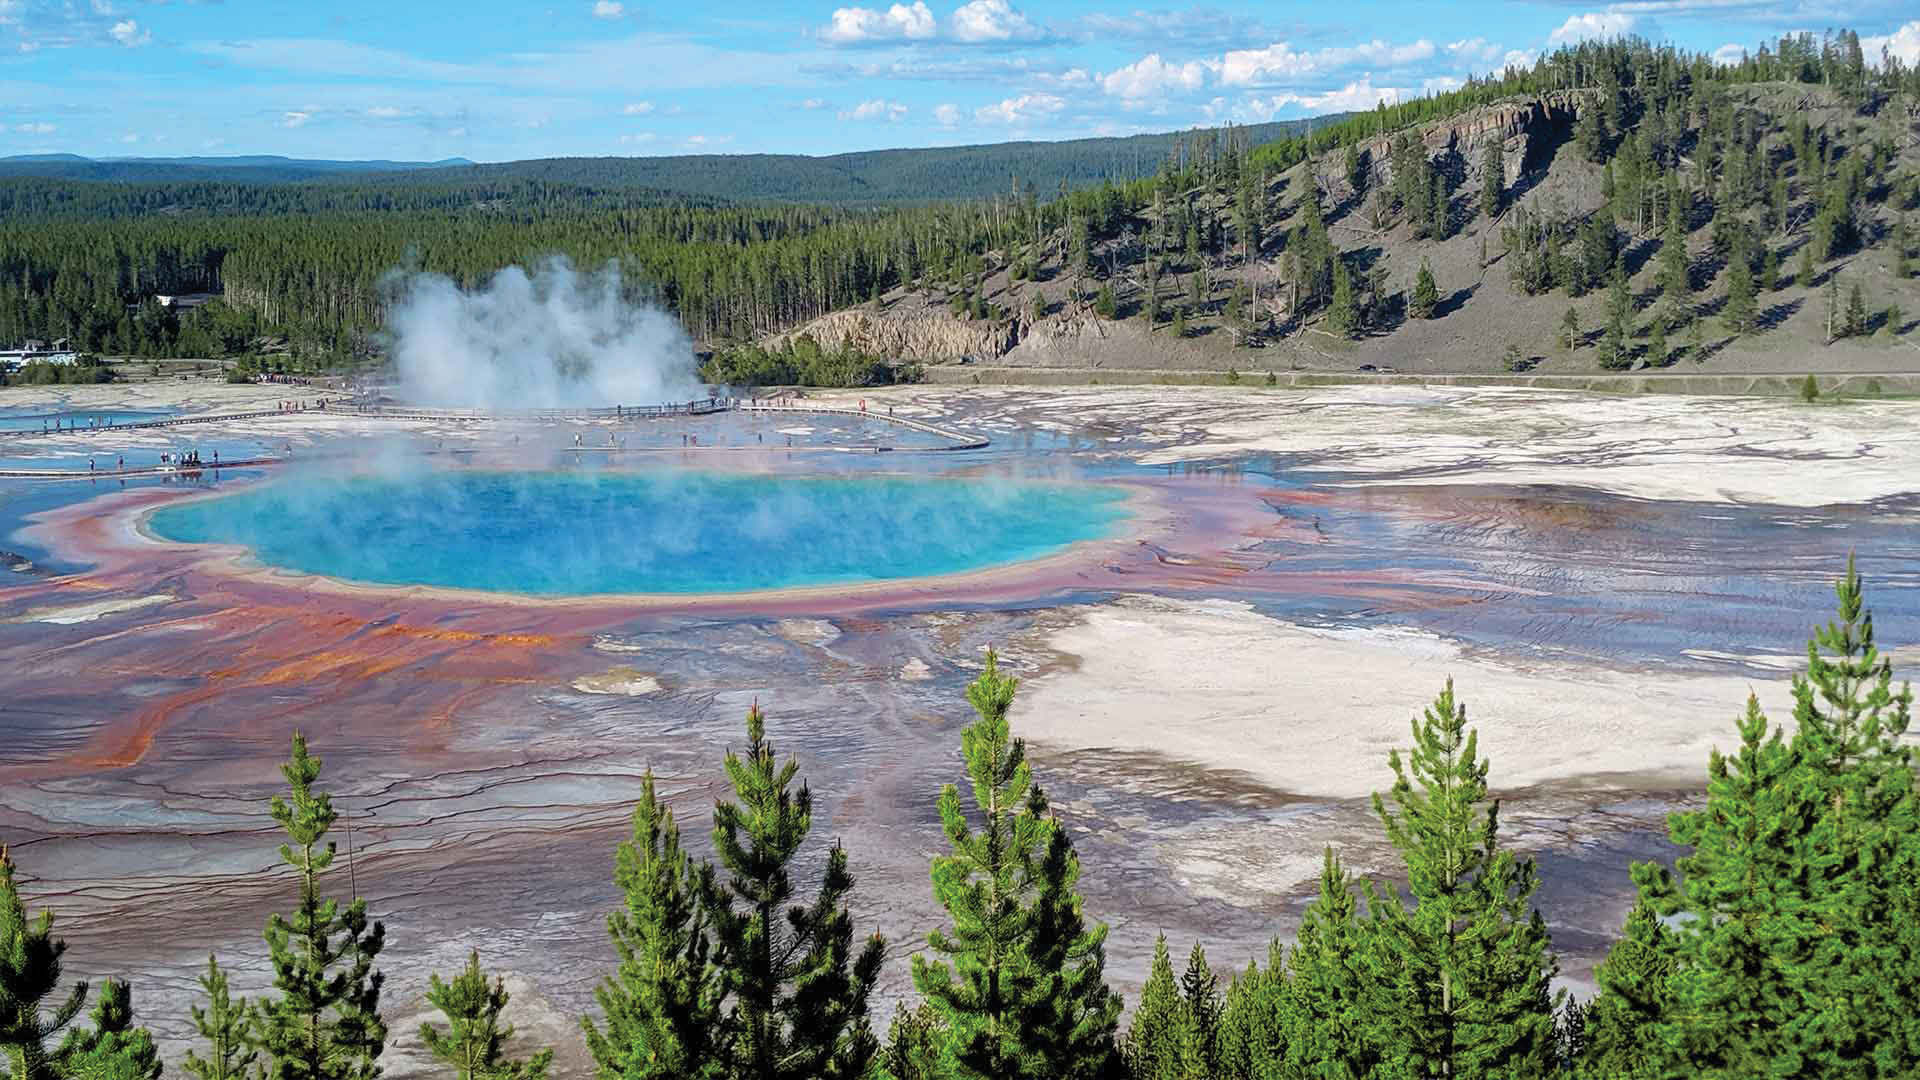
Yellowstone Stop No. 7, 8pm: Grand Prismatic Hot Springs (1 hour stop)
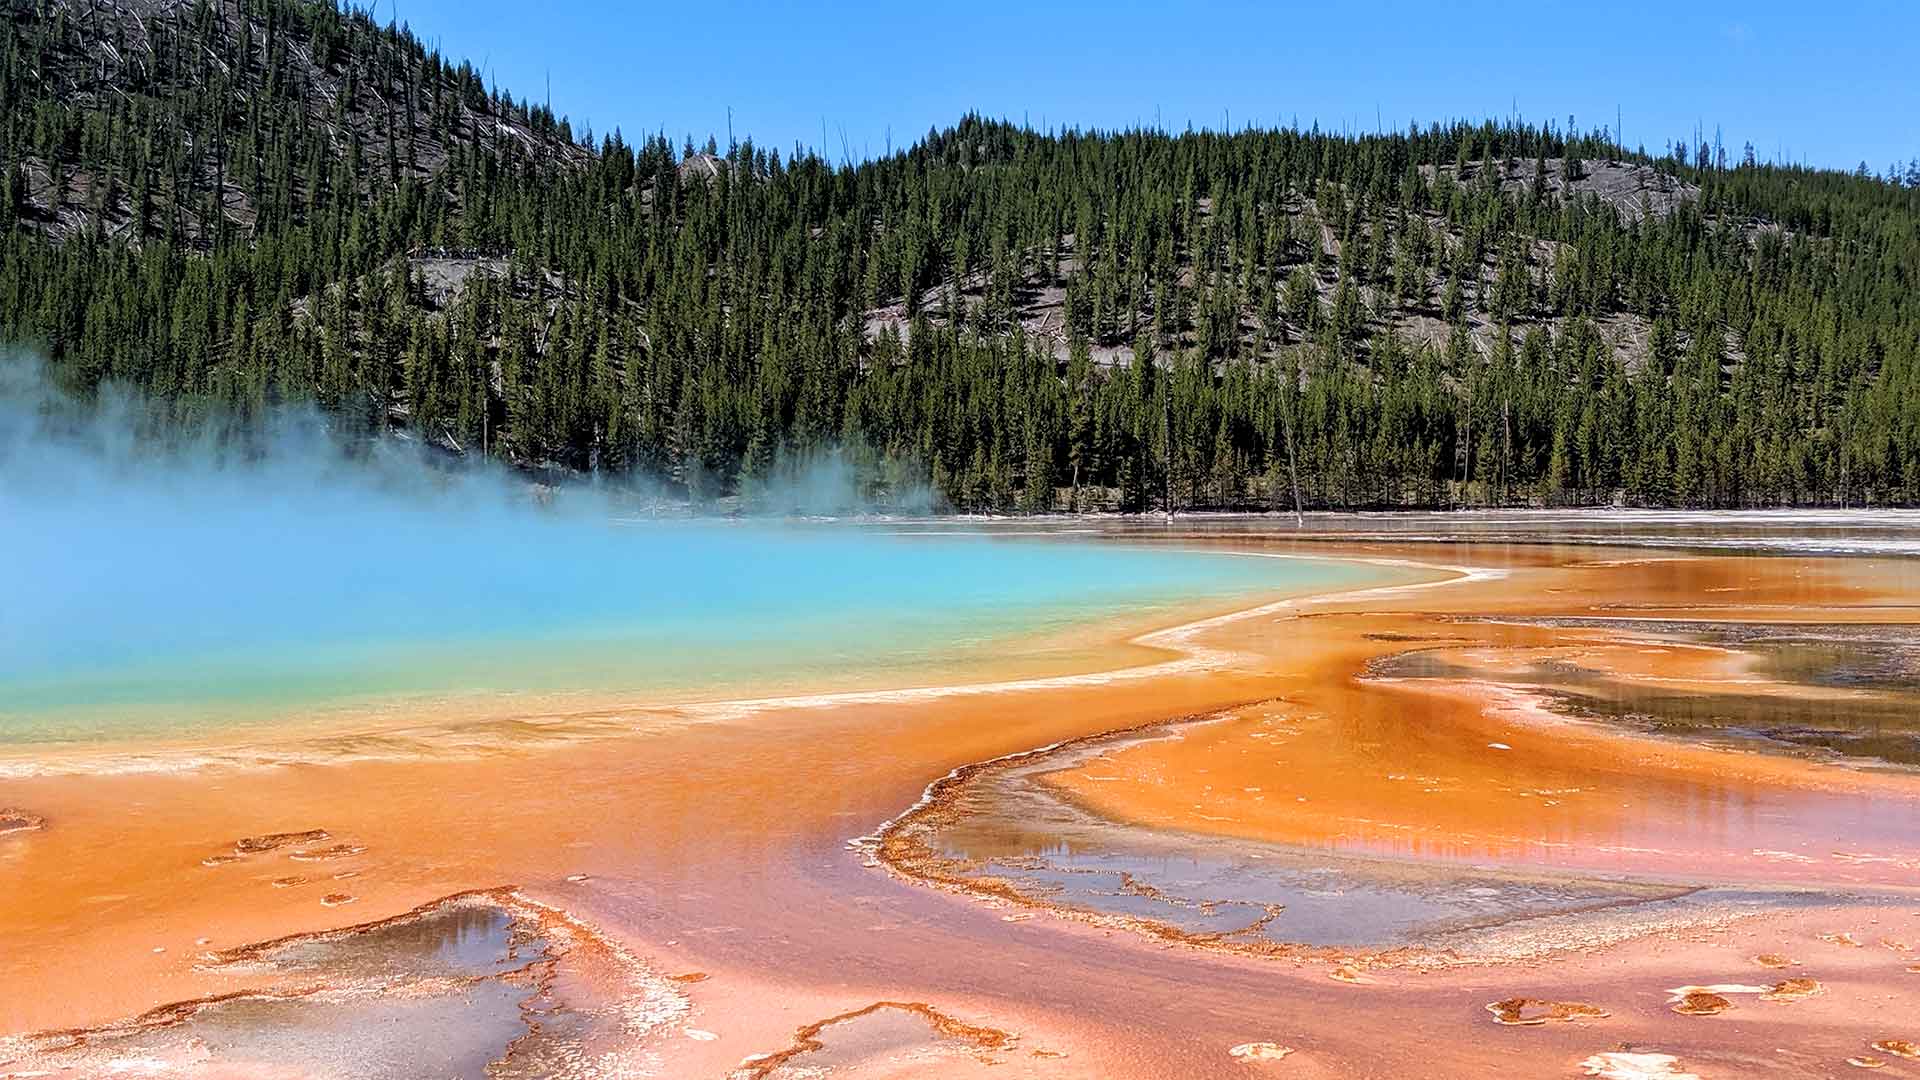
You’ve made it! Your final stop on a whirlwind day at Yellowstone National Park! As I mentioned, there’s a reason we pushed this until just before dark. First, the crowds and parking at Grand Prismatic Hot Springs are freaking nuts during peak hours! Not nearly as accommodating as the Old Faithful Area. Second, we’re back to rule number 1 about thermal features: they’re better when it’s cooler.
Grand Prismatic is a pretty straightforward stop, with boardwalks that take you right alongside some of the largest, most colorful thermal pools in the world. Take it all in, then rest easy in knowing that you’ve missed all of the traffic, since the rest of the tourists filed out around 5-6pm. Oh, and all the wildlife will be active now that dusk has arrived.
Hope this Yellowstone National Park Guide helps! Please share it with a friend, and chime in over on the Facebook Page and let me know if you go! Would love to hear about your favorite part! And don’t forget to grab your maps and National Parks guide book to get ready before your trip!
Cheers!
— Jason
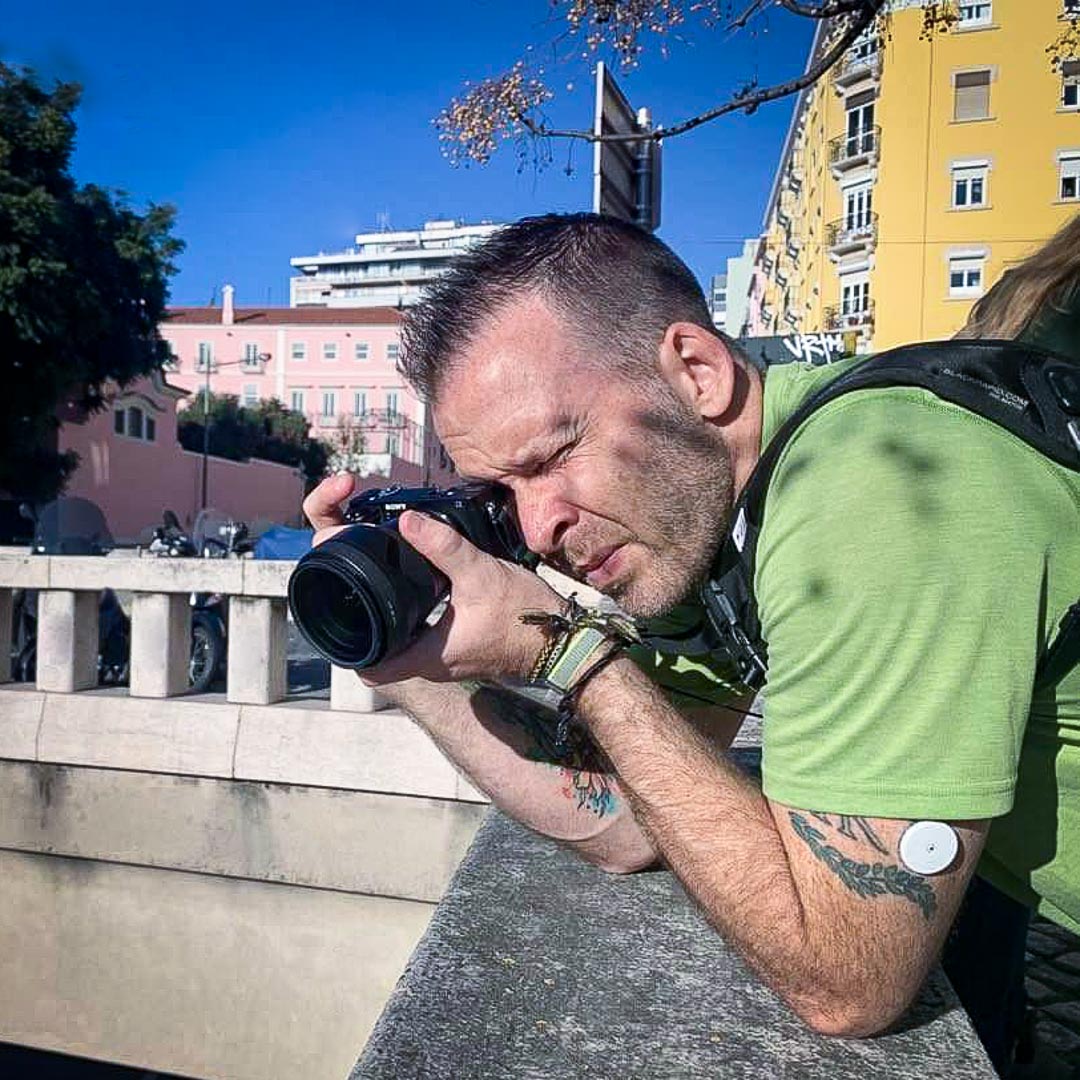

About Jason Robinson
Jason is the author of “The Beginner Traveler’s Guide To Going Nomad,” as well as the voice behind the words and the eye behind the lens for The Nomad Experiment. “Planning to travel at some point” wasn’t actually getting the job done, so nearing 40 he decided to make it a priority, nomatter how scary that was. A few years later—through the pandemic and a type 1 diabetes diagnosis at age 42—now living a life of nomadic travel, he’s speaking out to encourage others of any age, or with any serious medical diagnosis, to live an unconventional life.
Travel Planning Tips
Figure out where you are going & how are you getting there…
I suggest using at least 2 to 3 different travel search sites. Start with Skyscanner or Orbitz or Booking …or whatever aggregator site you prefer. Then when you see what airlines to use, check their respective sites for better deals or rewards flights.
Figure out where you’re going to stay…
If you’re interested in hostels, search Hostelworld or Hostelling International. For longer-term or more private digs, look at Airbnb, VRBO, or you can look for hotel rooms in the links from the search engines listed above.
Get comprehensive travel insurance, or in the least, travel medical insurance if internationally…
Especially with Covid not going anywhere, get covered. Start with an insurance aggregator like Insure My Trip, or with SafetyWing, World Nomads, or another. Then decide what is important to you; trip cancellation, baggage coverage, medical, or all of the above. And get a yearly evacuation plan, since you’ll have to get home after your emergency!
Need more resources? Click here!


