Yellowstone Canyon Village Junction & Yellowstone Falls—Planning Guide
Planning To Visit Yellowstone National Park: Canyon Village Junction & Yellowstone Falls
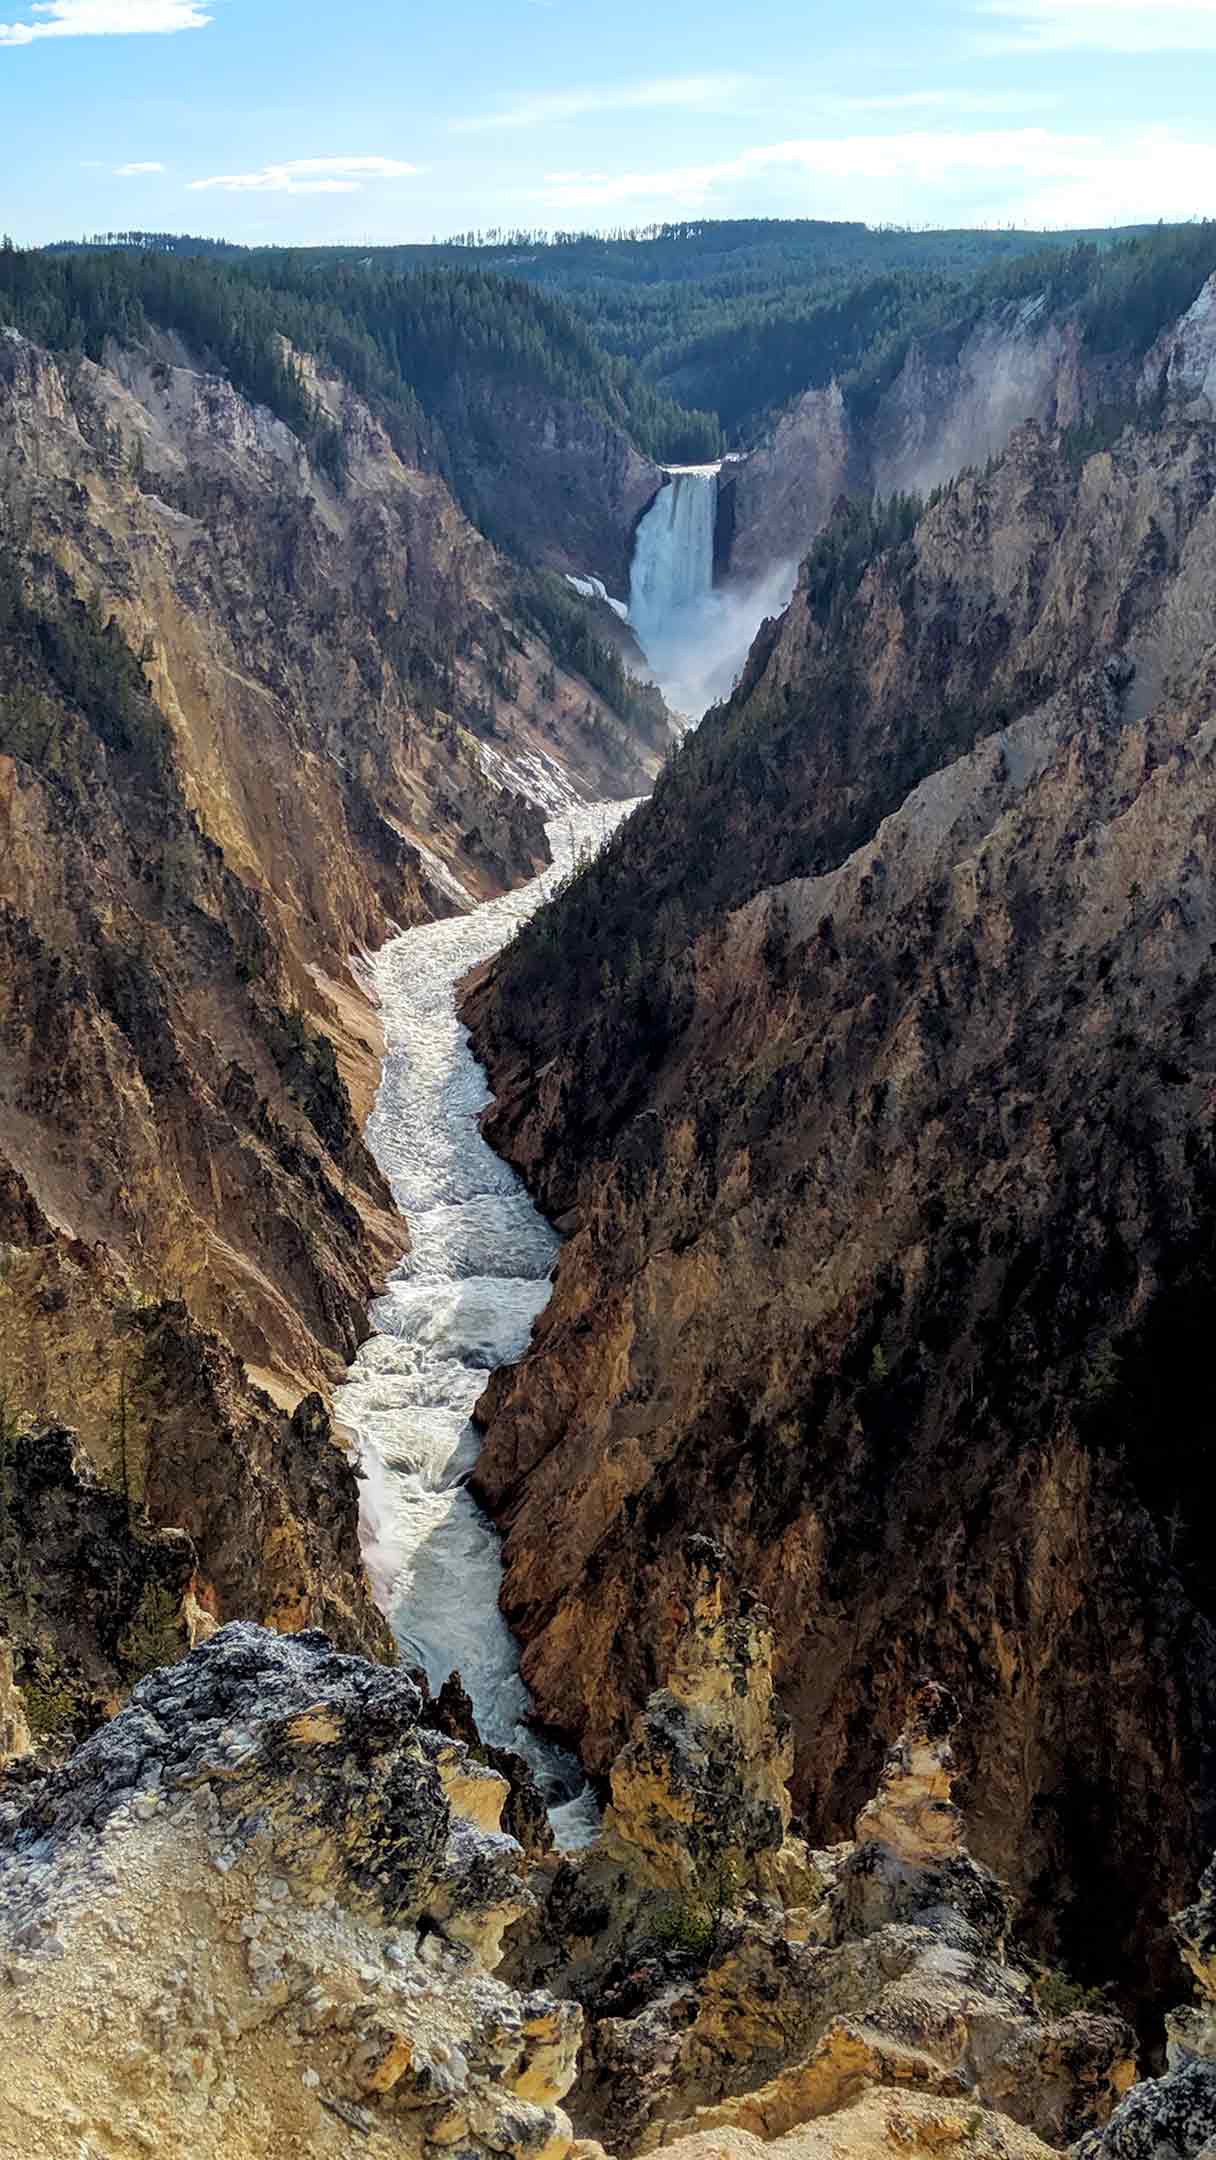
Imagine hiking to the sound of a deep, low rumble of thunder over the next peak, but with no sign of storms in the sky. Then rising over the ridge to look down upon such a majestic site as Yellowstone Falls, both the upper falls and lower falls—and the Canyon—in Yellowstone National Park.
I often attempt to put myself in a headspace where I can imagine being the first person to stumble upon these places. Surprisingly, there are still spots in this area, away from the crowds, where it’s easy to imagine that feeling!
Protip: If you’re interested in the 14-hour day to end all days exploring all of the major stops in Yellowstone, Check out this guide!
Spoiler Alert: I’m not a professional photographer! But that’s kind of the point, these are all spots and pics you could take with just the phone in your pocket when you visit!
Connect & Share This Article
John Muir would be proud if you made the trek to some of these more secluded areas to enjoy the Canyon! Read on my friend!
This site participates in the Amazon Services LLC Associates Program and other affiliate programs and may earn from qualifying purchases. You’re never charged more, but it helps out little by little! Check out “Privacy” in the top menu if you need to know more!
Travel Tips For The Canyon Village & Yellowstone Falls Areas…Or Yellowstone In General
- Dress in layers, and be ready for rain. I personally experienced fog, blue skies, torrential rain, hail, and more blue skies within a 12-hour window…in that order.
- Plan for more drive time than you can possibly imagine. Yellowstone National Park is huge! Add to that the fact that the top speed limit is 45mph. Also…animal traffic jams!
- Bring snacks. Because you’ll probably want to spend more time exploring and less stopping for food.
- Get a good map and/or guidebook. While you can get free ones in the park, they pale in comparison to a full-sized, waterproof map with great details. And this guidebook is also one I use at every US National Park I visit. Protip, if you’re going to visit the Grand Tetons National Park as well, get the combo map pack!
- Come early and stay late! I cannot stress this one enough. The most beautiful times with the most animal activity are before 9am and after 6pm. Most people visit the park between 10am and 5pm. Do the math.
- Wear Proper Footwear! Between slippery wooden walkways and backcountry hikes, it’s just good practice to wear good high-ankle boots with traction. And if they’re waterproof, bonus: Stomping all willy-nilly through the puddles and water on the trails! (And Bear Spray!)
READ NEXT: Norris Geyser Basin & Norris Junction Old Faithful Geyser & Grand Prismatic Hot Springs Area Mammoth Hot Springs Junction & Tower/Roosevelt Junction The Ultimate Yellowstone National Park 14-Hour Day Guide.
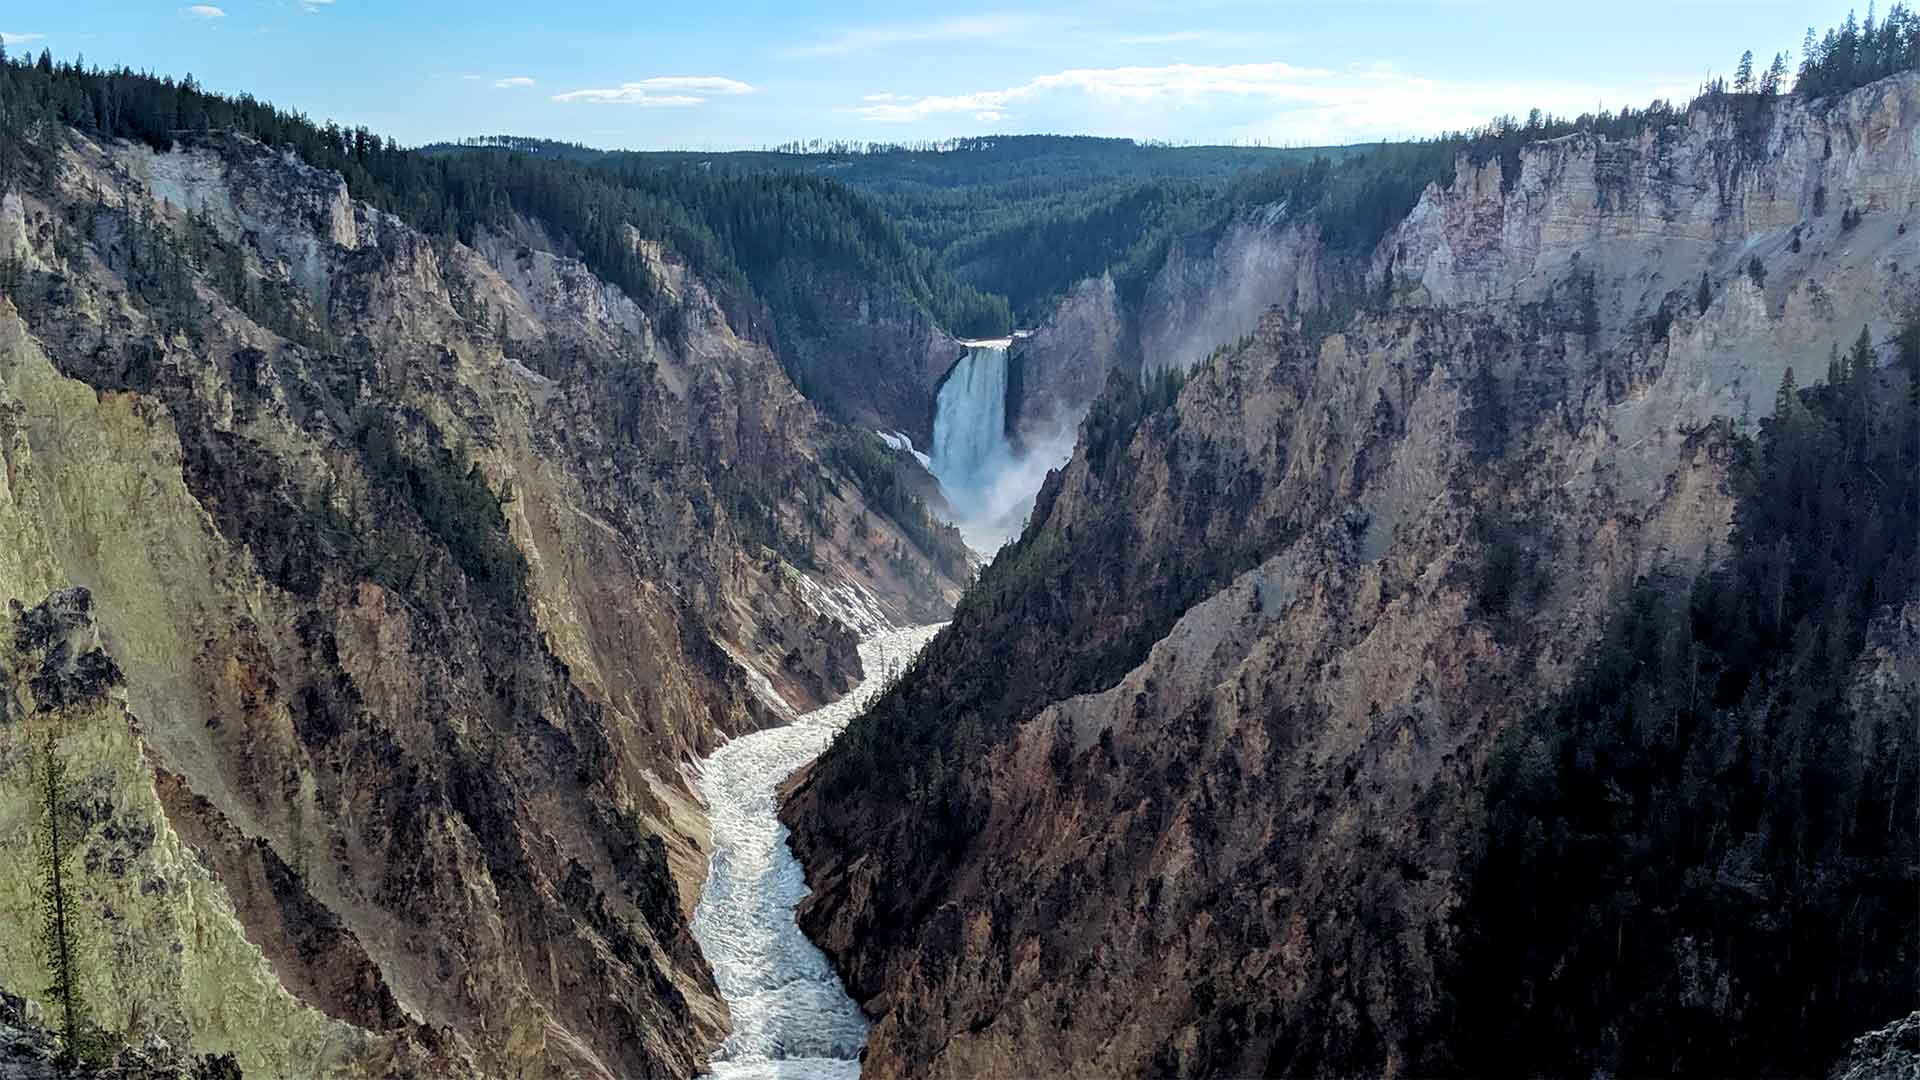
Yellowstone Canyon Village Junction & Upper & Lower Yellowstone Falls
I spent an entire day in this area, adding in an 8-mile hike into the backcountry all alone, to complement the big sights. More on that hike in a bit. The first thing I definitely suggest is to stop at the Yellowstone Canyon Village Junction visitor’s center and learn about where you’re at!
All of the visitor centers in the park are world-class, and the one in Canyon Village doesn’t disappoint. It will give you a better appreciation of both Upper and Lower Yellowstone Falls and the surrounding sights.
Did you know that Yellowstone has more than 2,500 earthquakes each year, or that it’s sitting on one of the world’s largest active volcanos!?
Do you know the difference between magma or lava, or exactly how a volcano works? These are all things that you can dig into at the visitor’s center at Canyon Village Junction, and they’ll change the way you look at the park afterward.
Join the email list to stay in the loop on new releases!
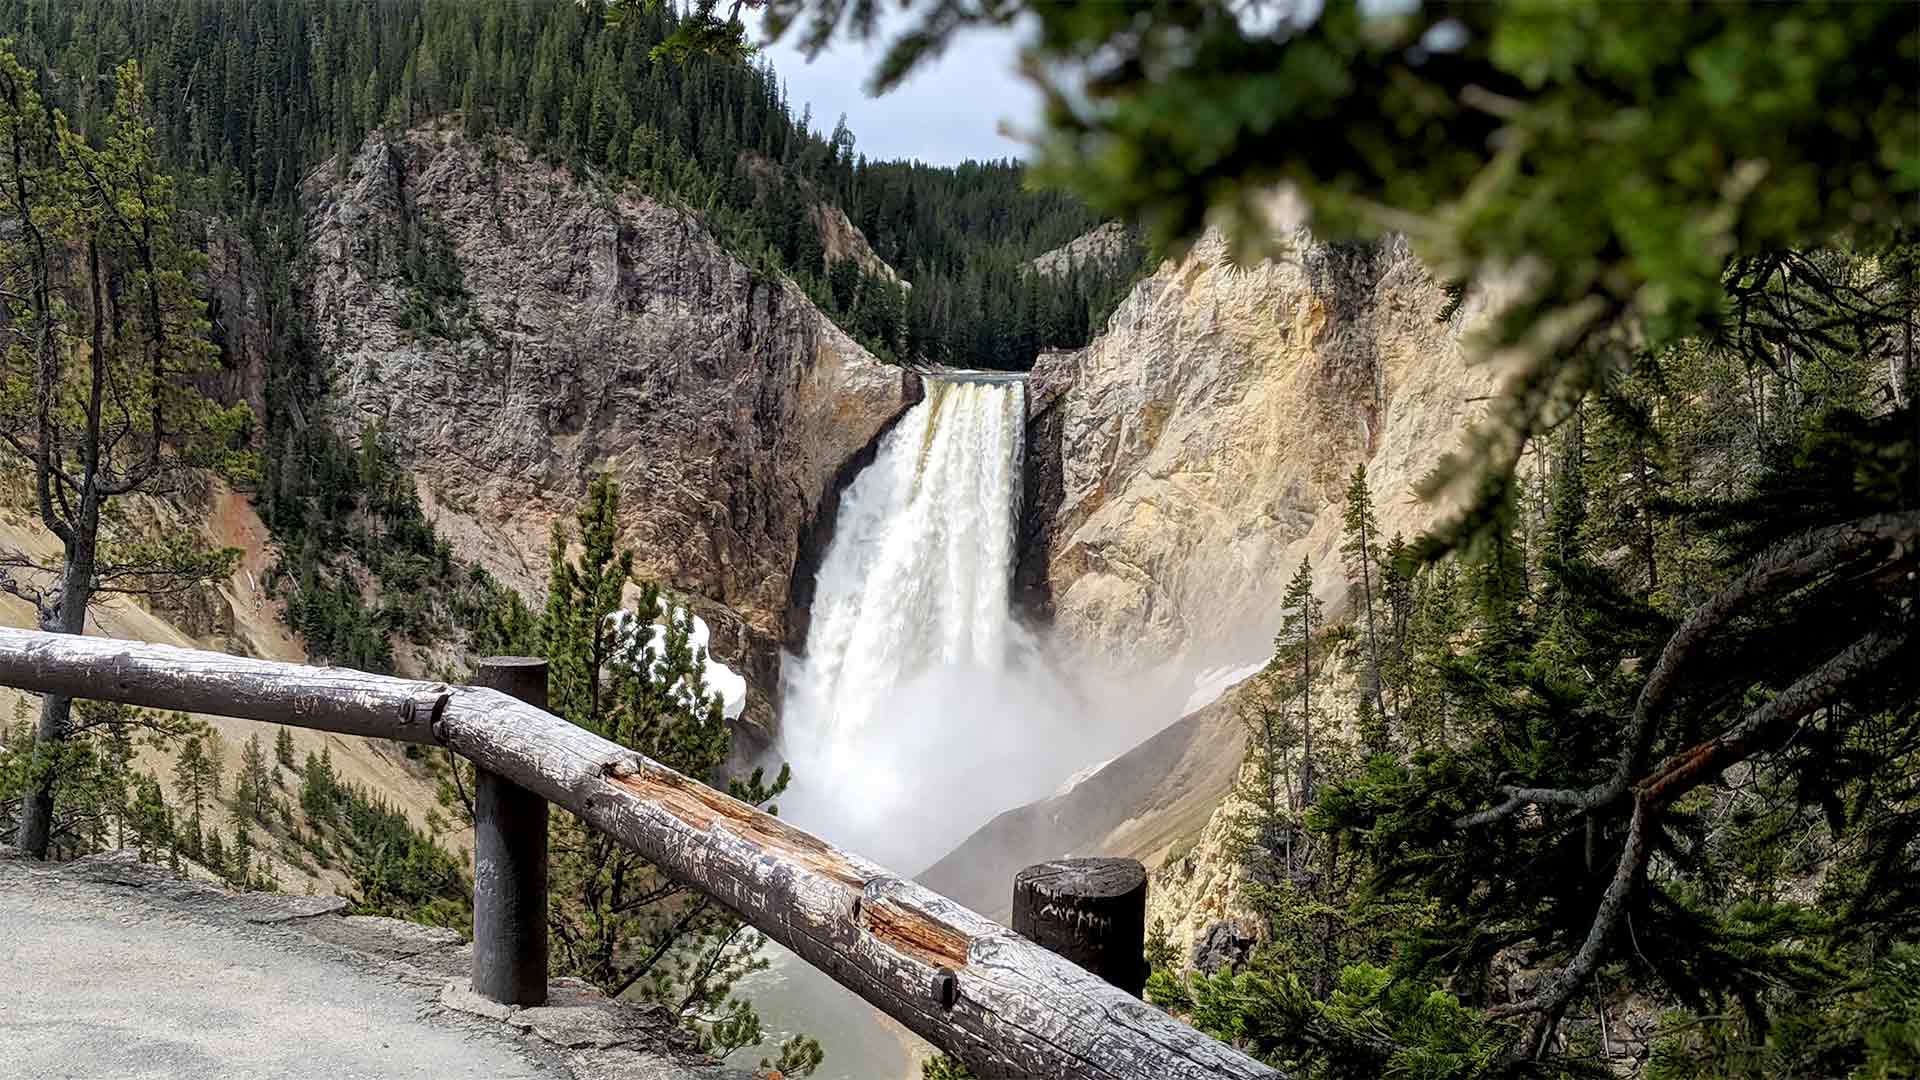
Viewing Lower Falls: The Red Rock Point Trail On The North Rim Side
There are many vantage points to view the Lower Yellowstone Falls, the more dramatic of the two waterfalls in the Canyon Village area. But as usual, putting in a bit of work will get you away from the crowds and reward you with the best views available.
The Lower Falls viewing platforms most easily accessed from the North Rim side parking areas get the majority of the crowds. But just to the right of the Lookout Point platform is the much less traveled, 300’ winding descent of the Red Rock Point Trail. While somewhat daunting from the top, it’s actually a fairly simple and short switchbacked trail. And you’re rewarded with one of the lowest views of the Lower Yellowstone Falls.
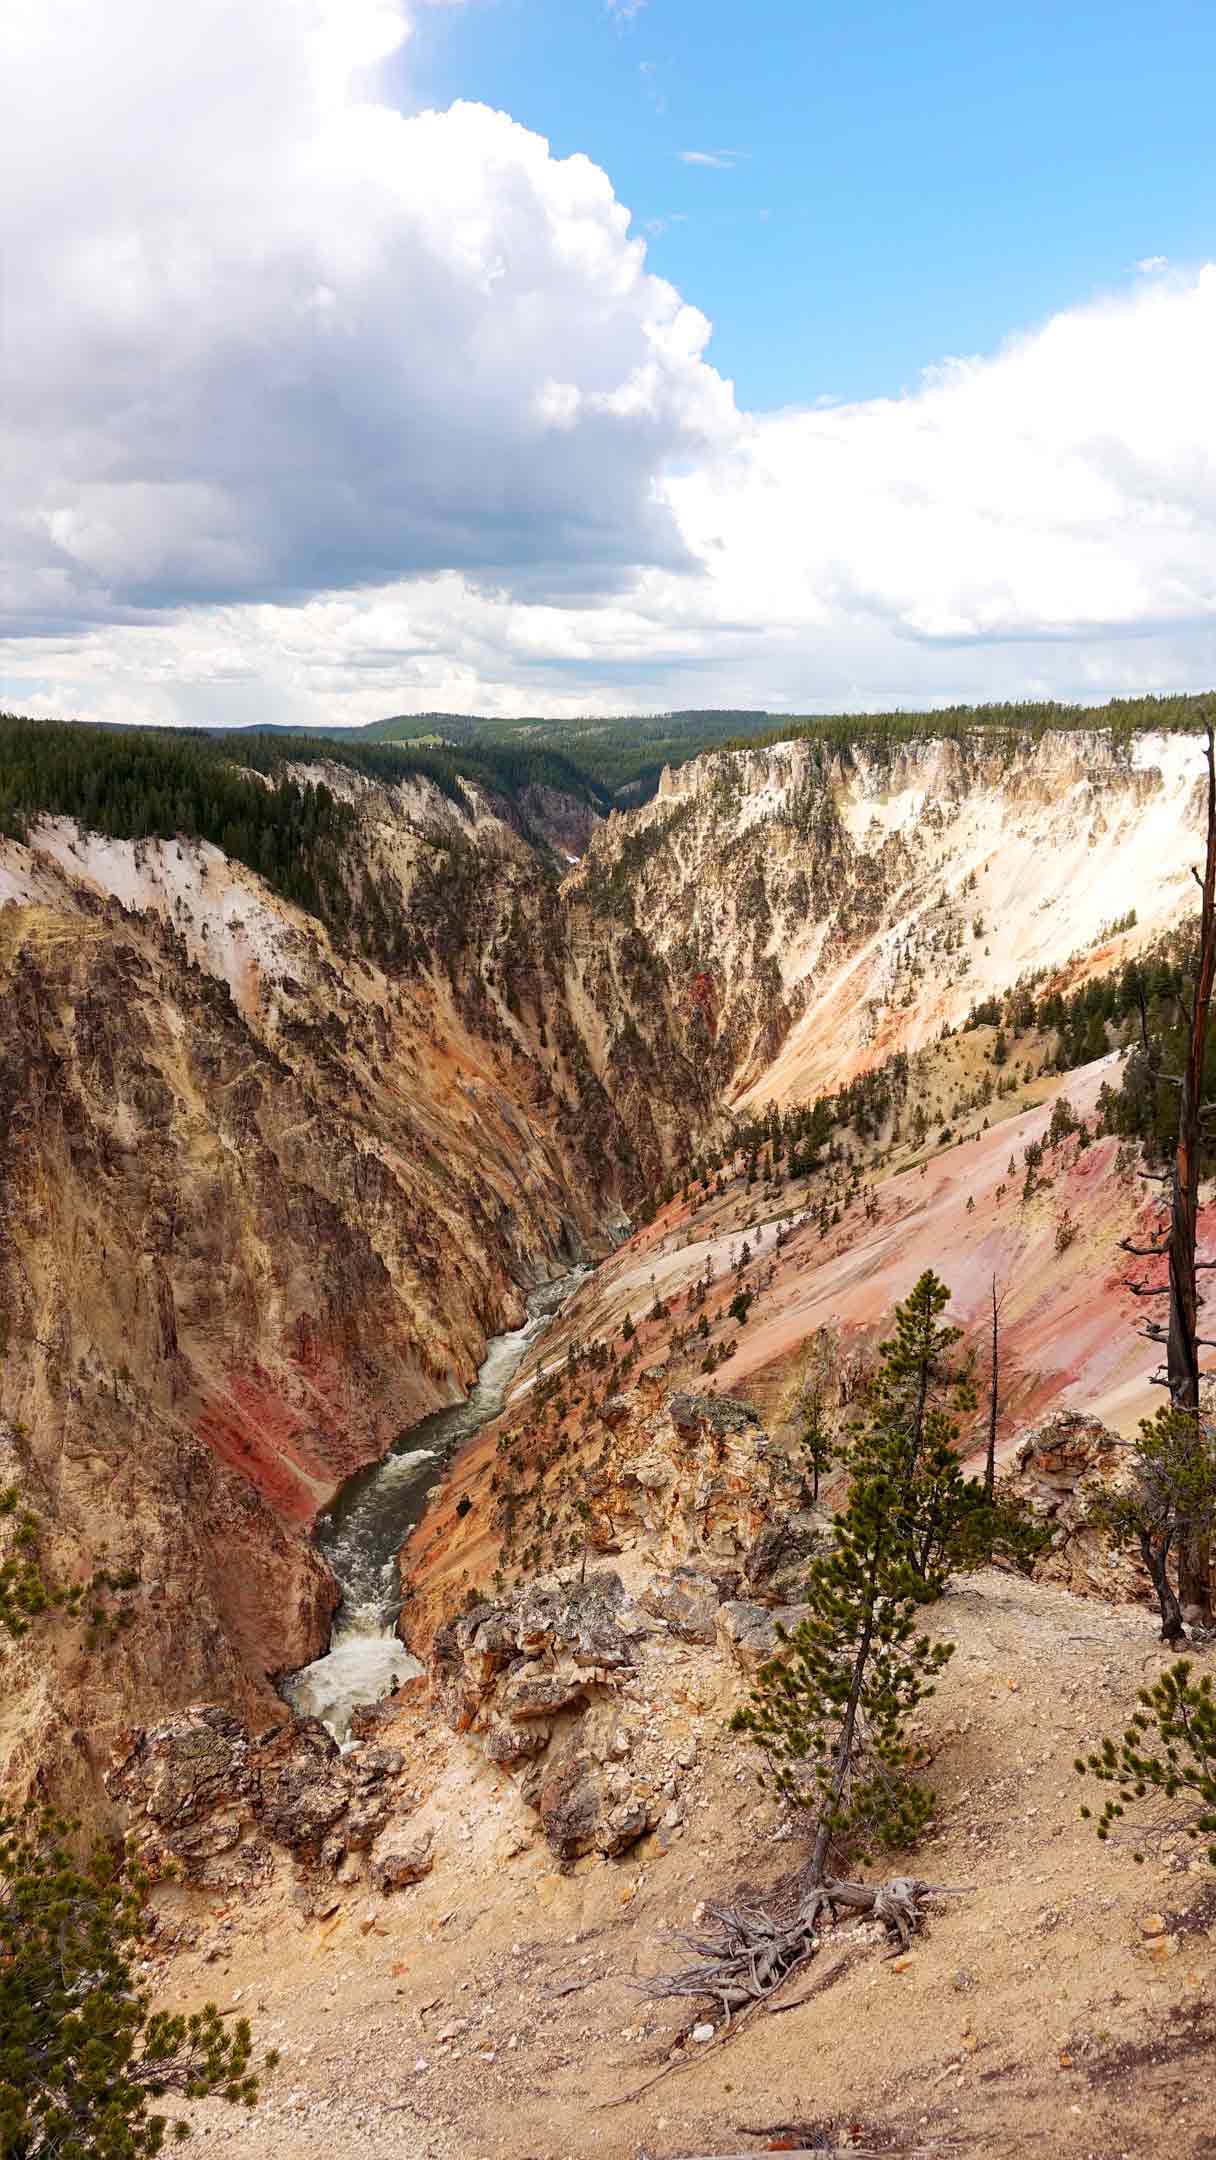
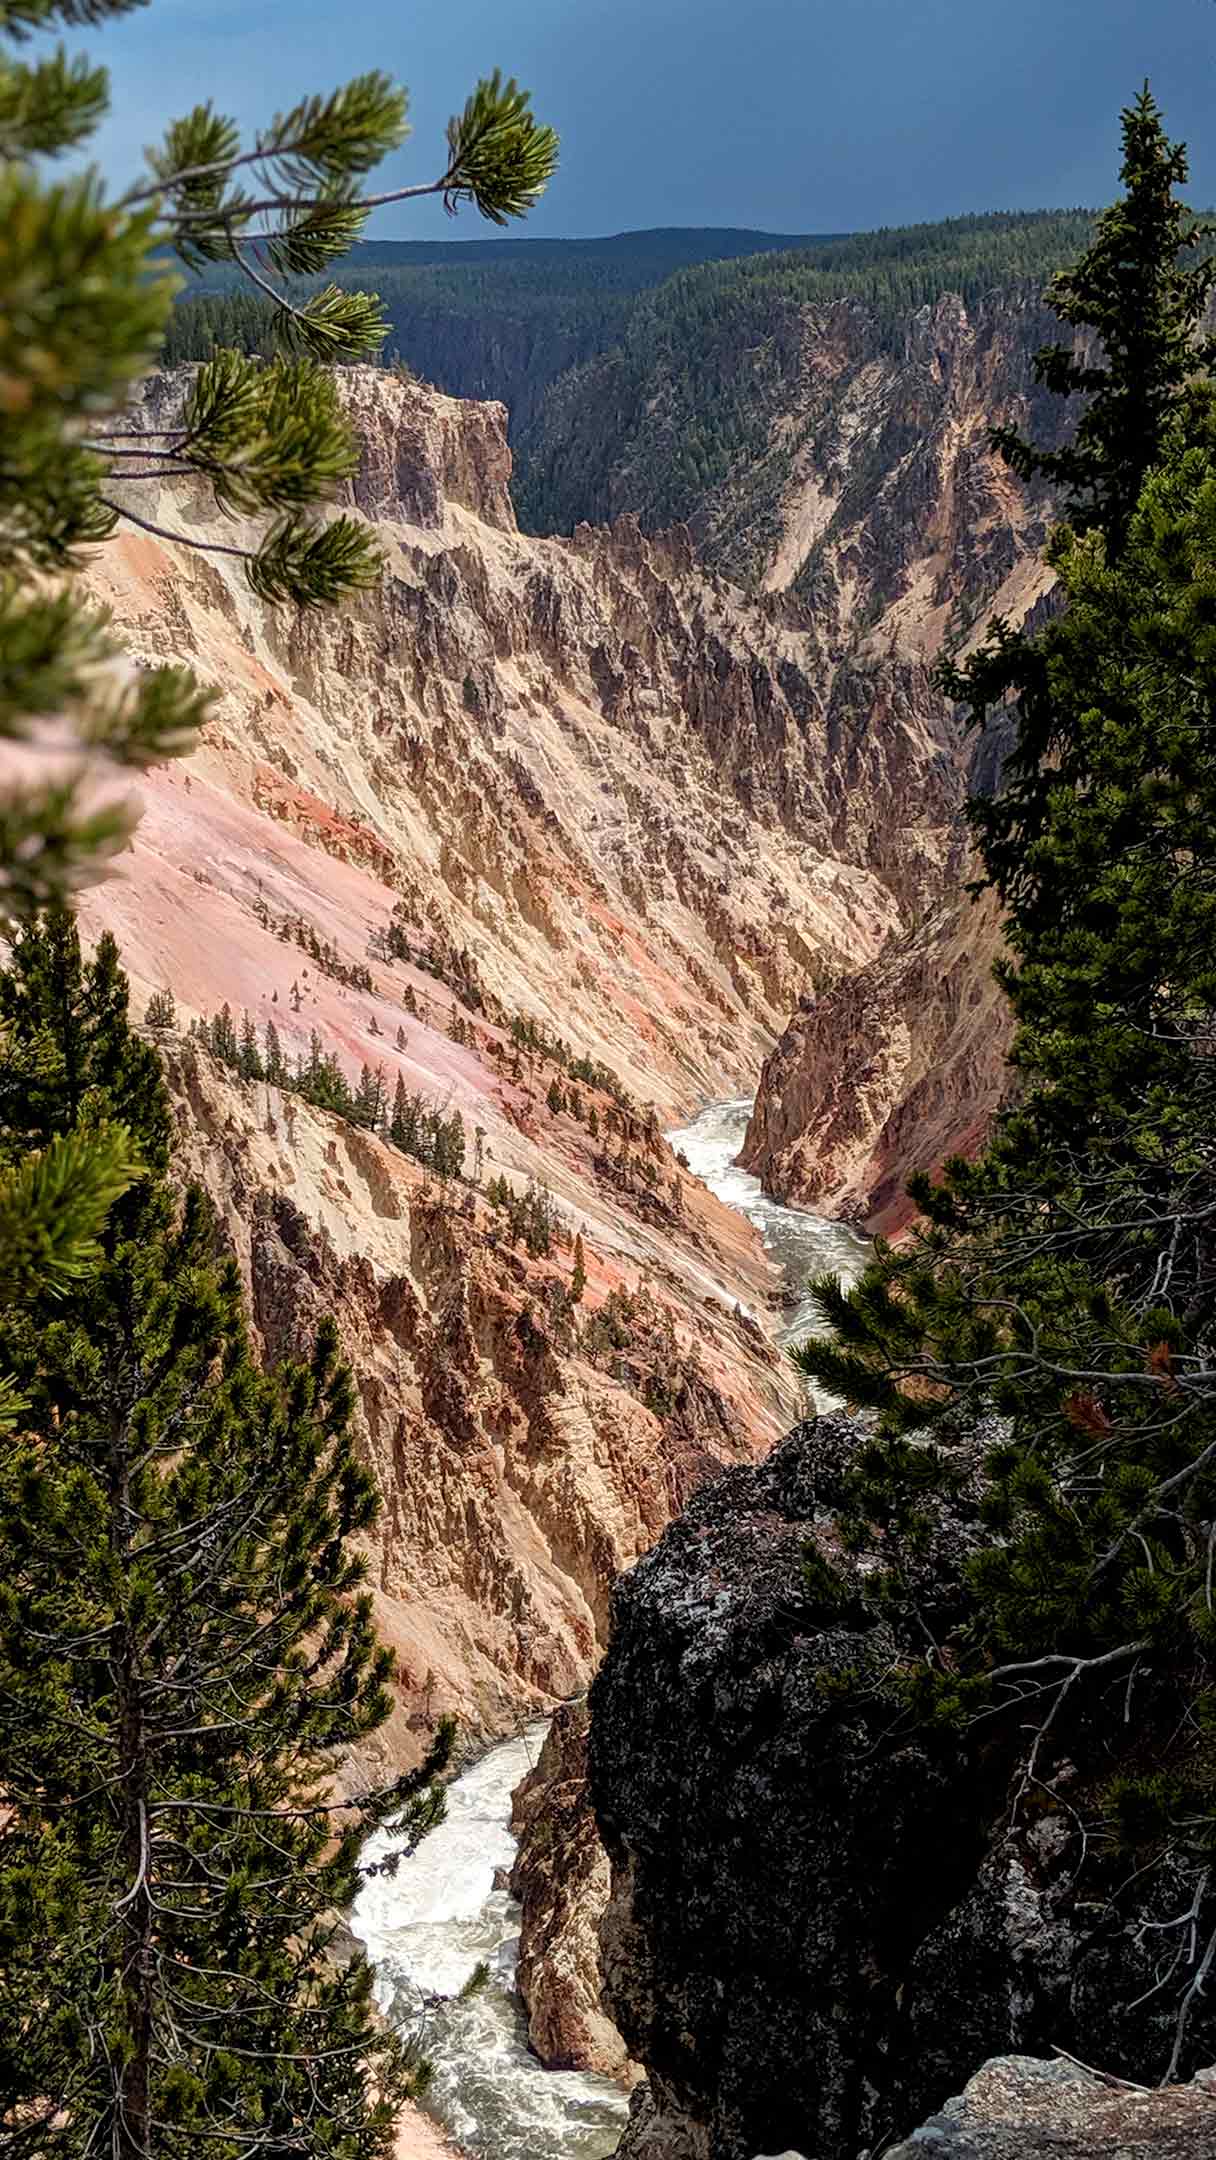
The South Rim of Canyon Village Junction: Uncle Tom’s Trail & Artist’s Point
Taking the trip to the South Rim affords views of the Lower Yellowstone Falls and the Canyon that are actually quite different from the north. First, if you’re looking for even more of a challenge and rewarding view than the Red Rock Trail, then check out Uncle Tom’s Trail. This is the lowest maintained vantage point of the Lower Yellowstone Falls. And it’s accessible only via the 300-step stairway and paved trail which takes you over 500ft below the rim.
Another important stop on the South Rim of Yellowstone Canyon Village is Artist’s point. Park at the parking areas and take in the viewing platforms, for sure. But then get off the beaten path a little bit, only about 1/8 of a mile, for views few people even know about. From the Furthest Artist’s Point platforms, cross the pavement and head up the trail skirting the canyon. This is the backside of the Wapiti Lake/Ribbon Lake/Artist’s Point Trails, and well worth the short detour.
Note that you can also take to the Upper Yellowstone Falls viewing platform from the South Rim area of Canyon Village. That said, it’s a bit more underwhelming than the Lower Yellowstone Falls, so if you need to do a fly-by, or miss it, don’t lose sleep.
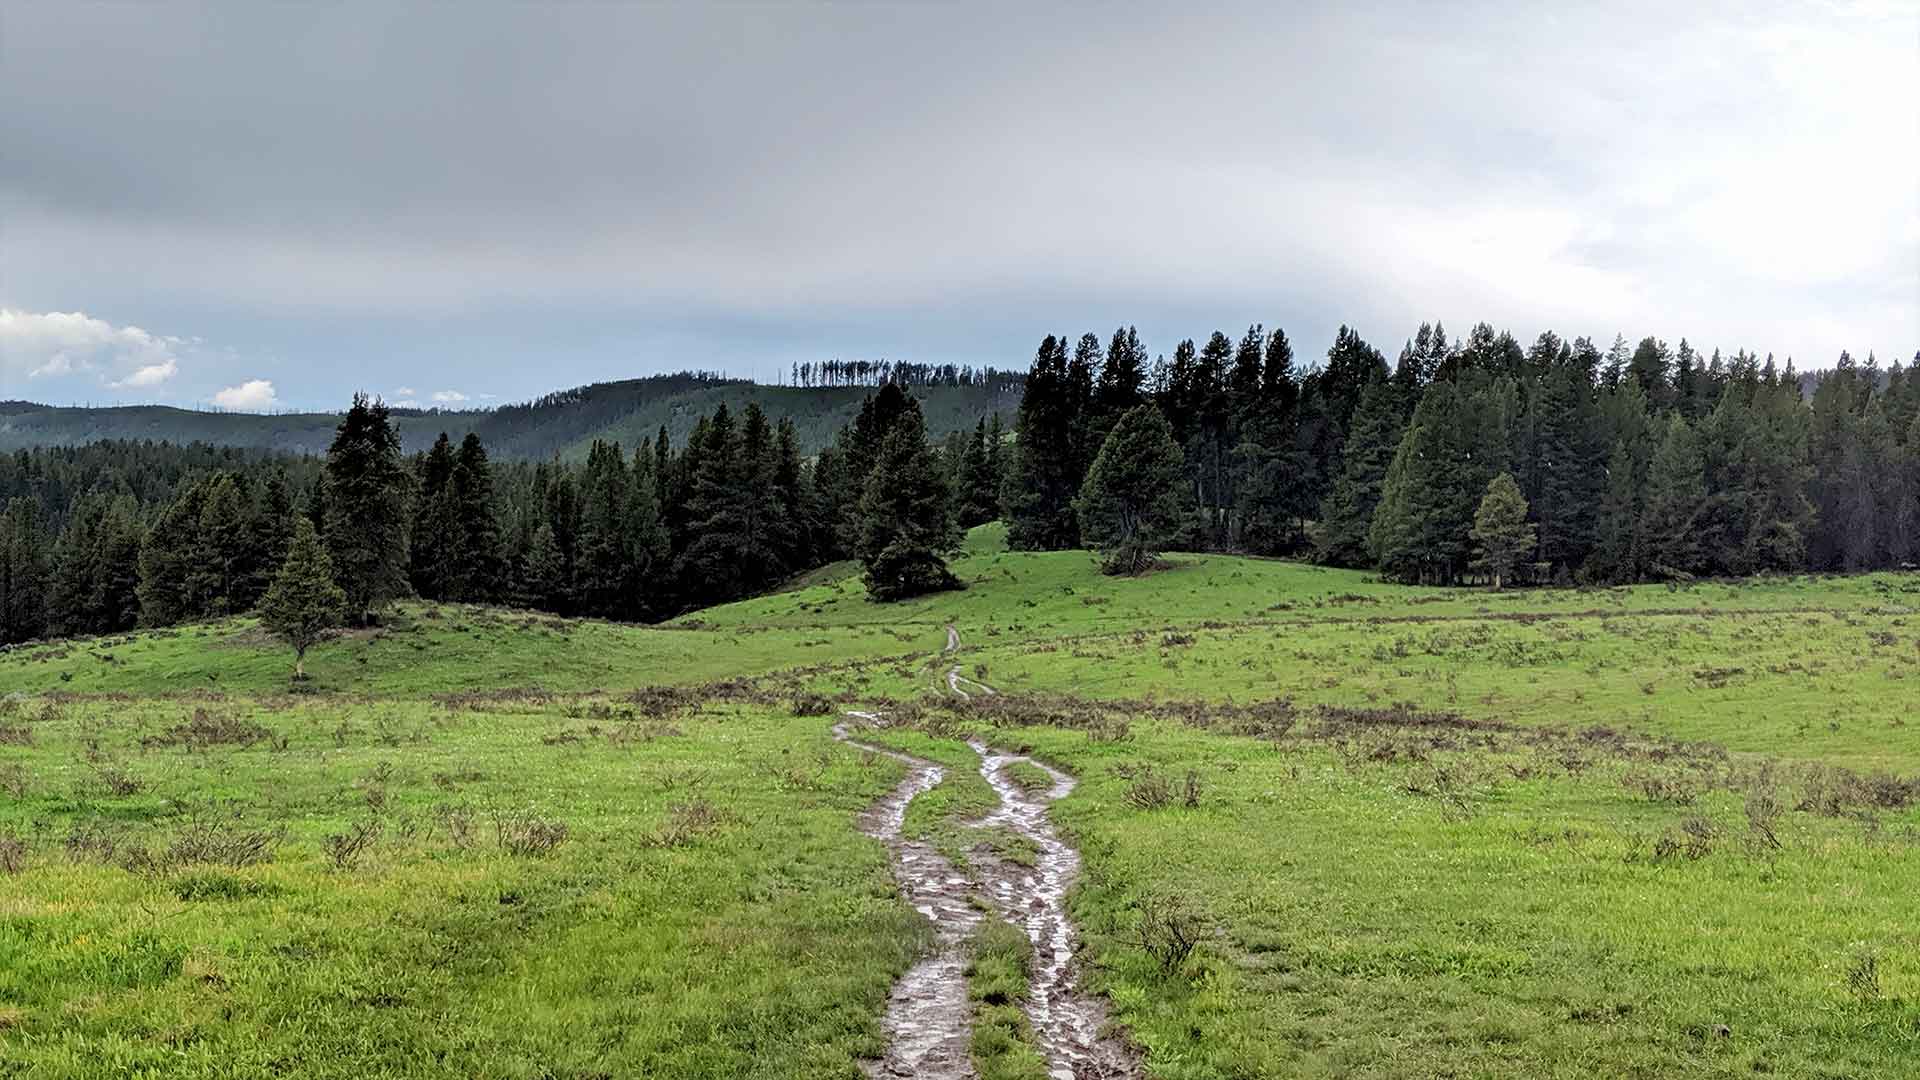
The Wapiti Lake / Ribbon Lake / Artist’s Point Trail
If you’re Jonesin’ to get away from the crowds and into the backcountry, there are tons of hikes in the Yellowstone Canyon Village area. Starting at the Wapiti Lake trailhead, this one took me 7-8 miles round trip through secluded backcountry scenery that ran the gamut of what Yellowstone offers. You can usually get free printed area day hike lists and details at the information desks at all area visitor centers.
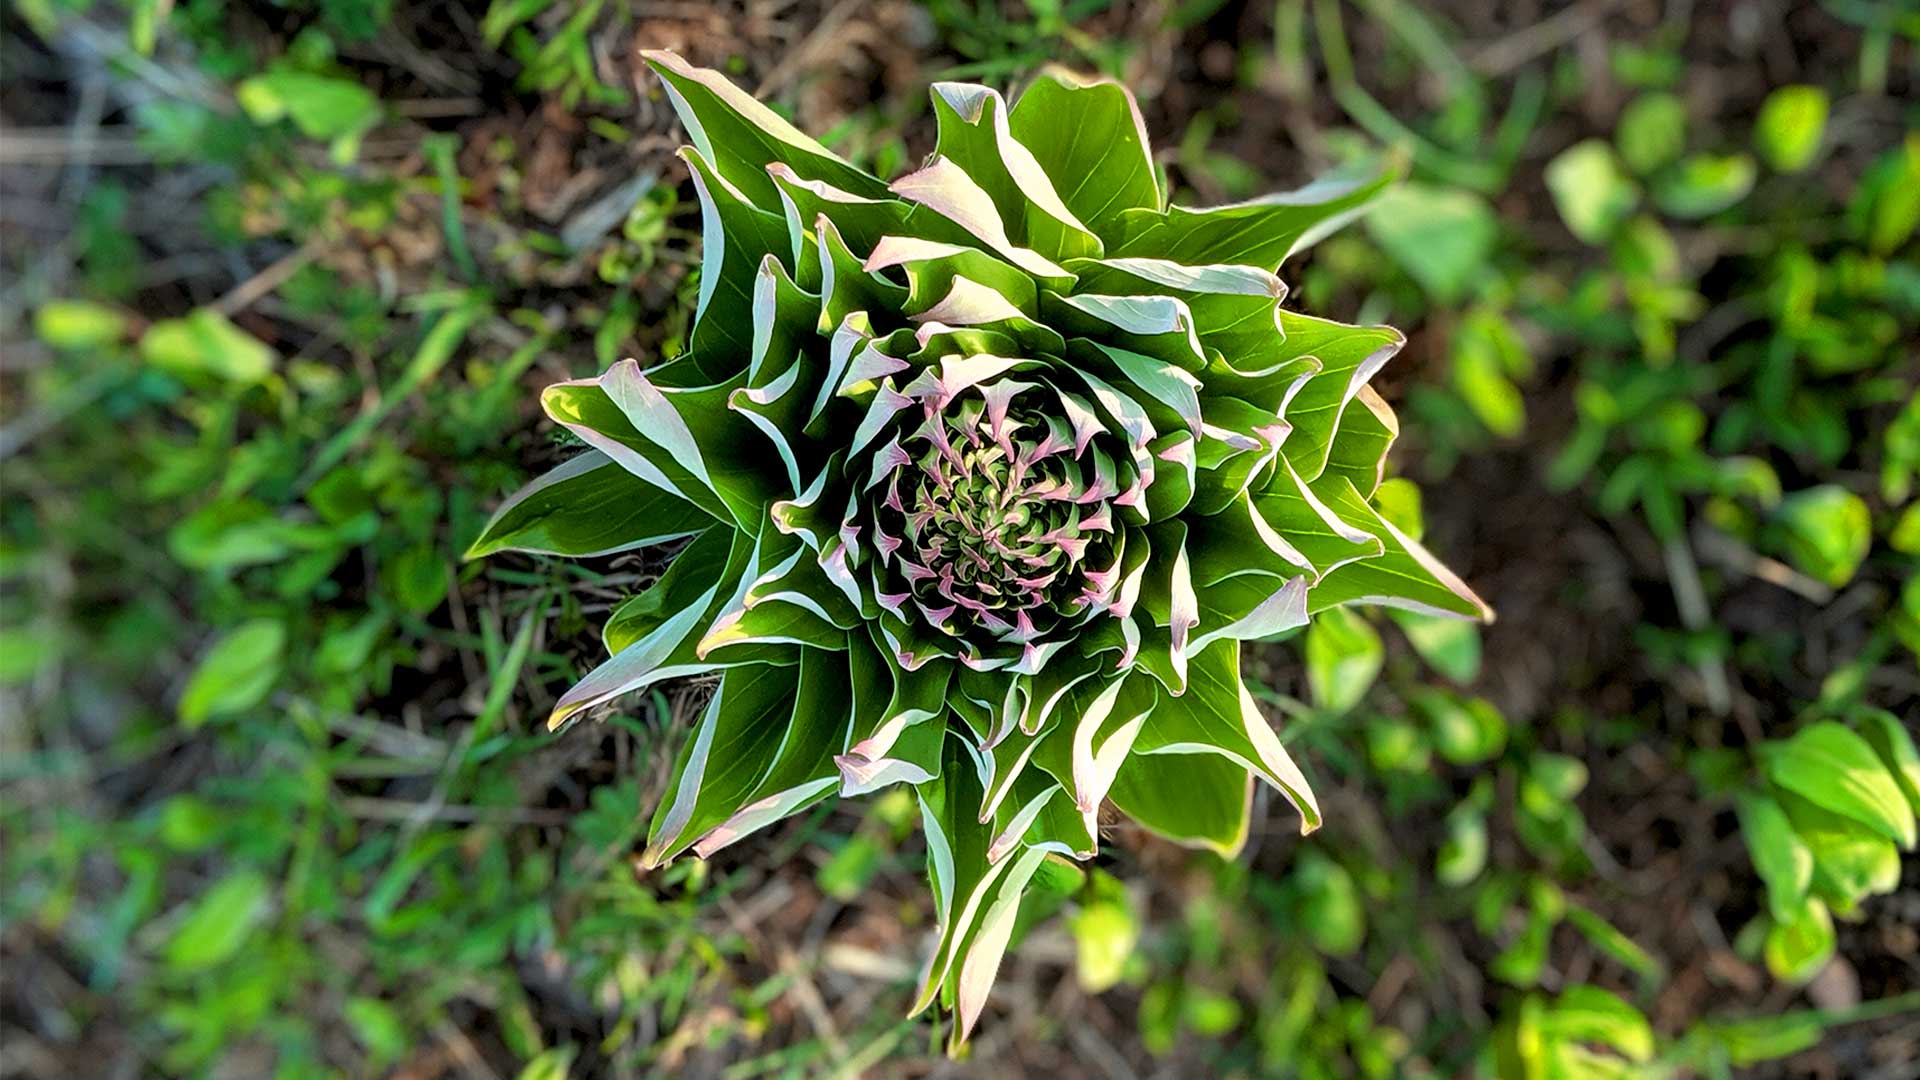
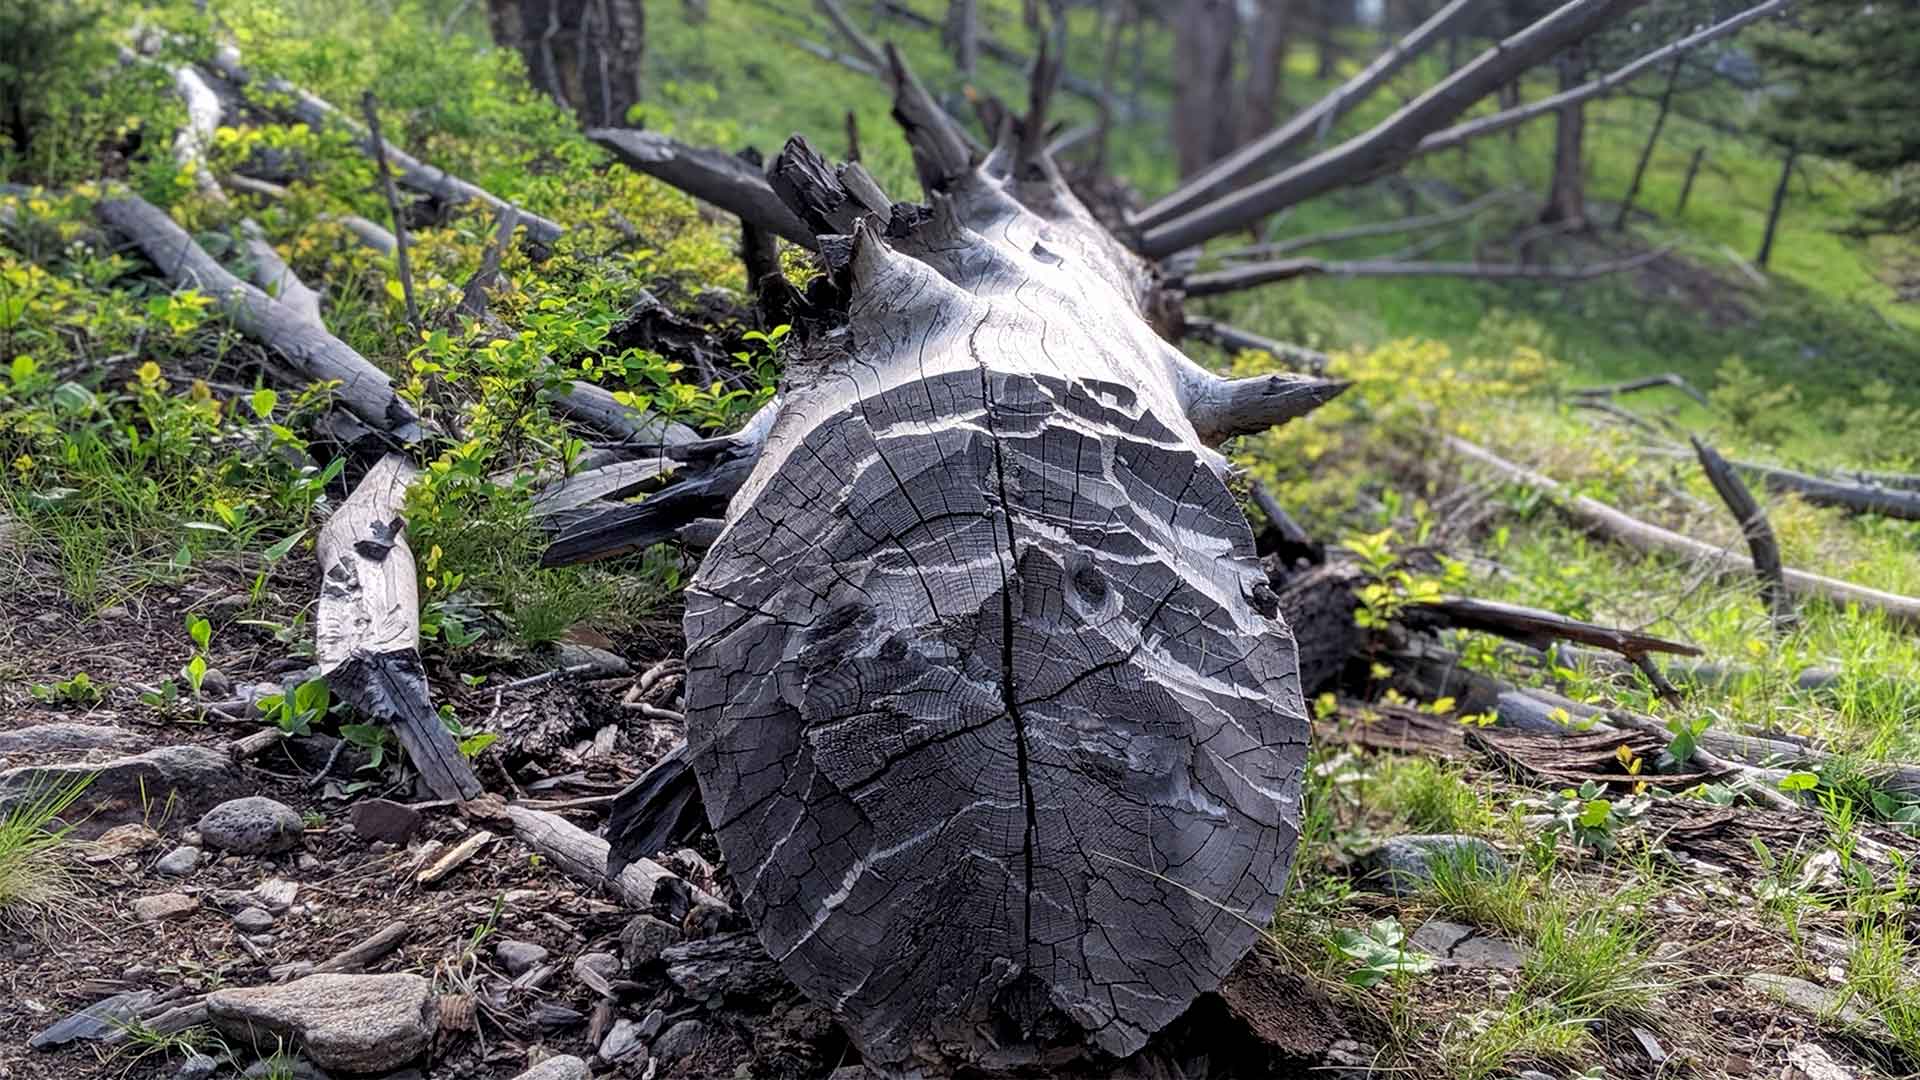
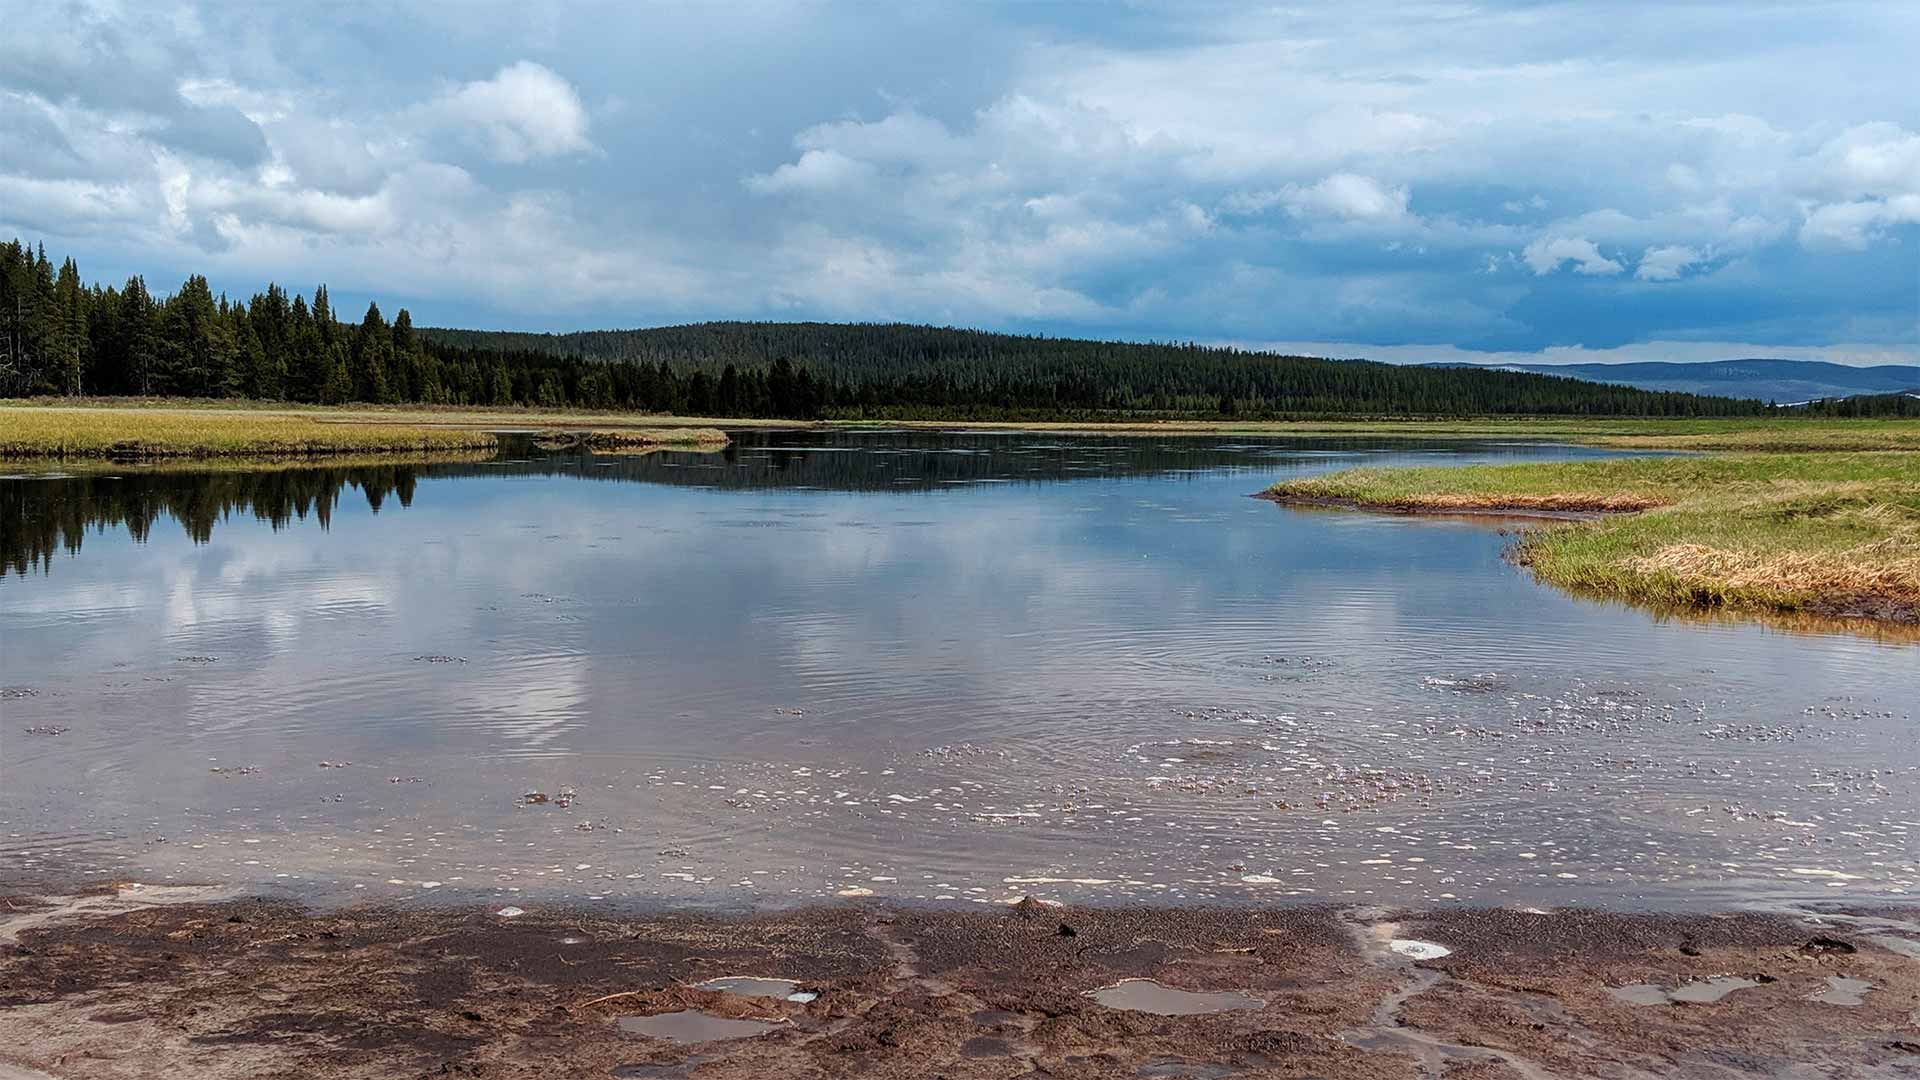
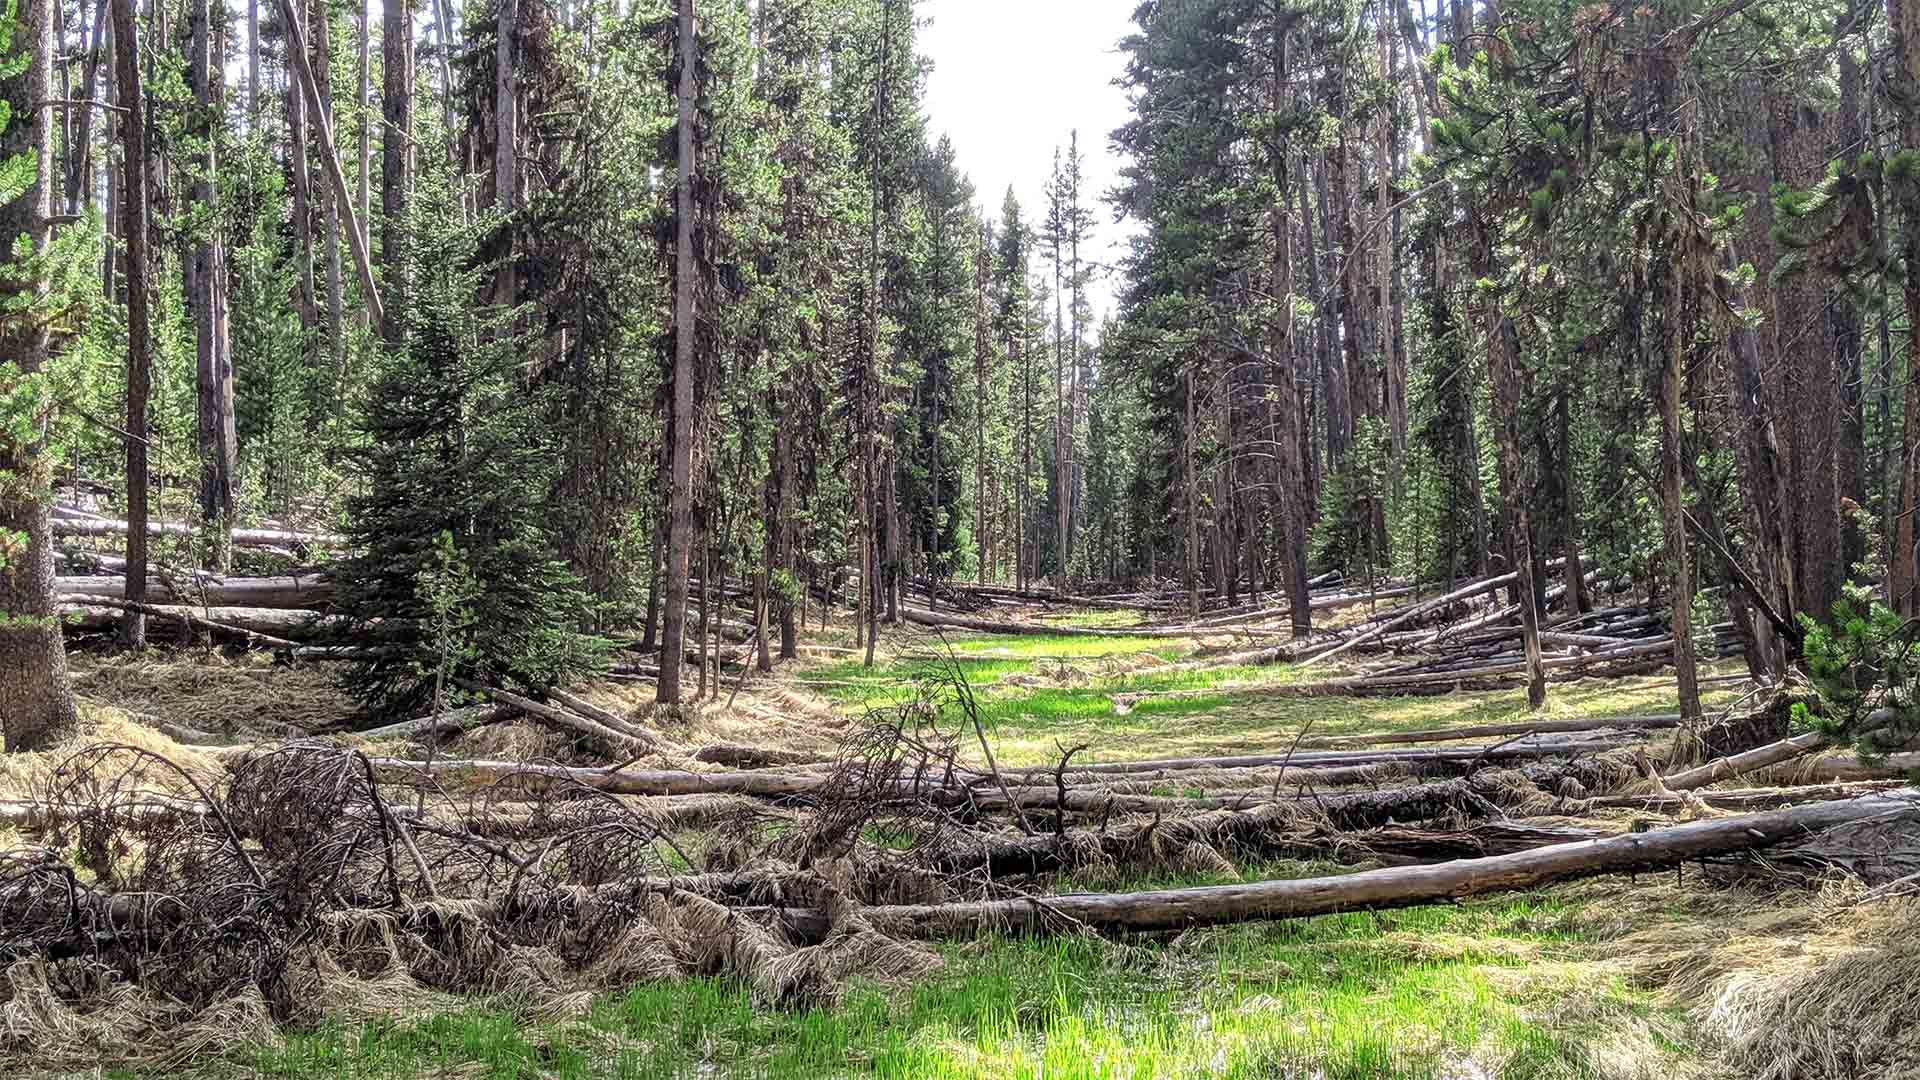
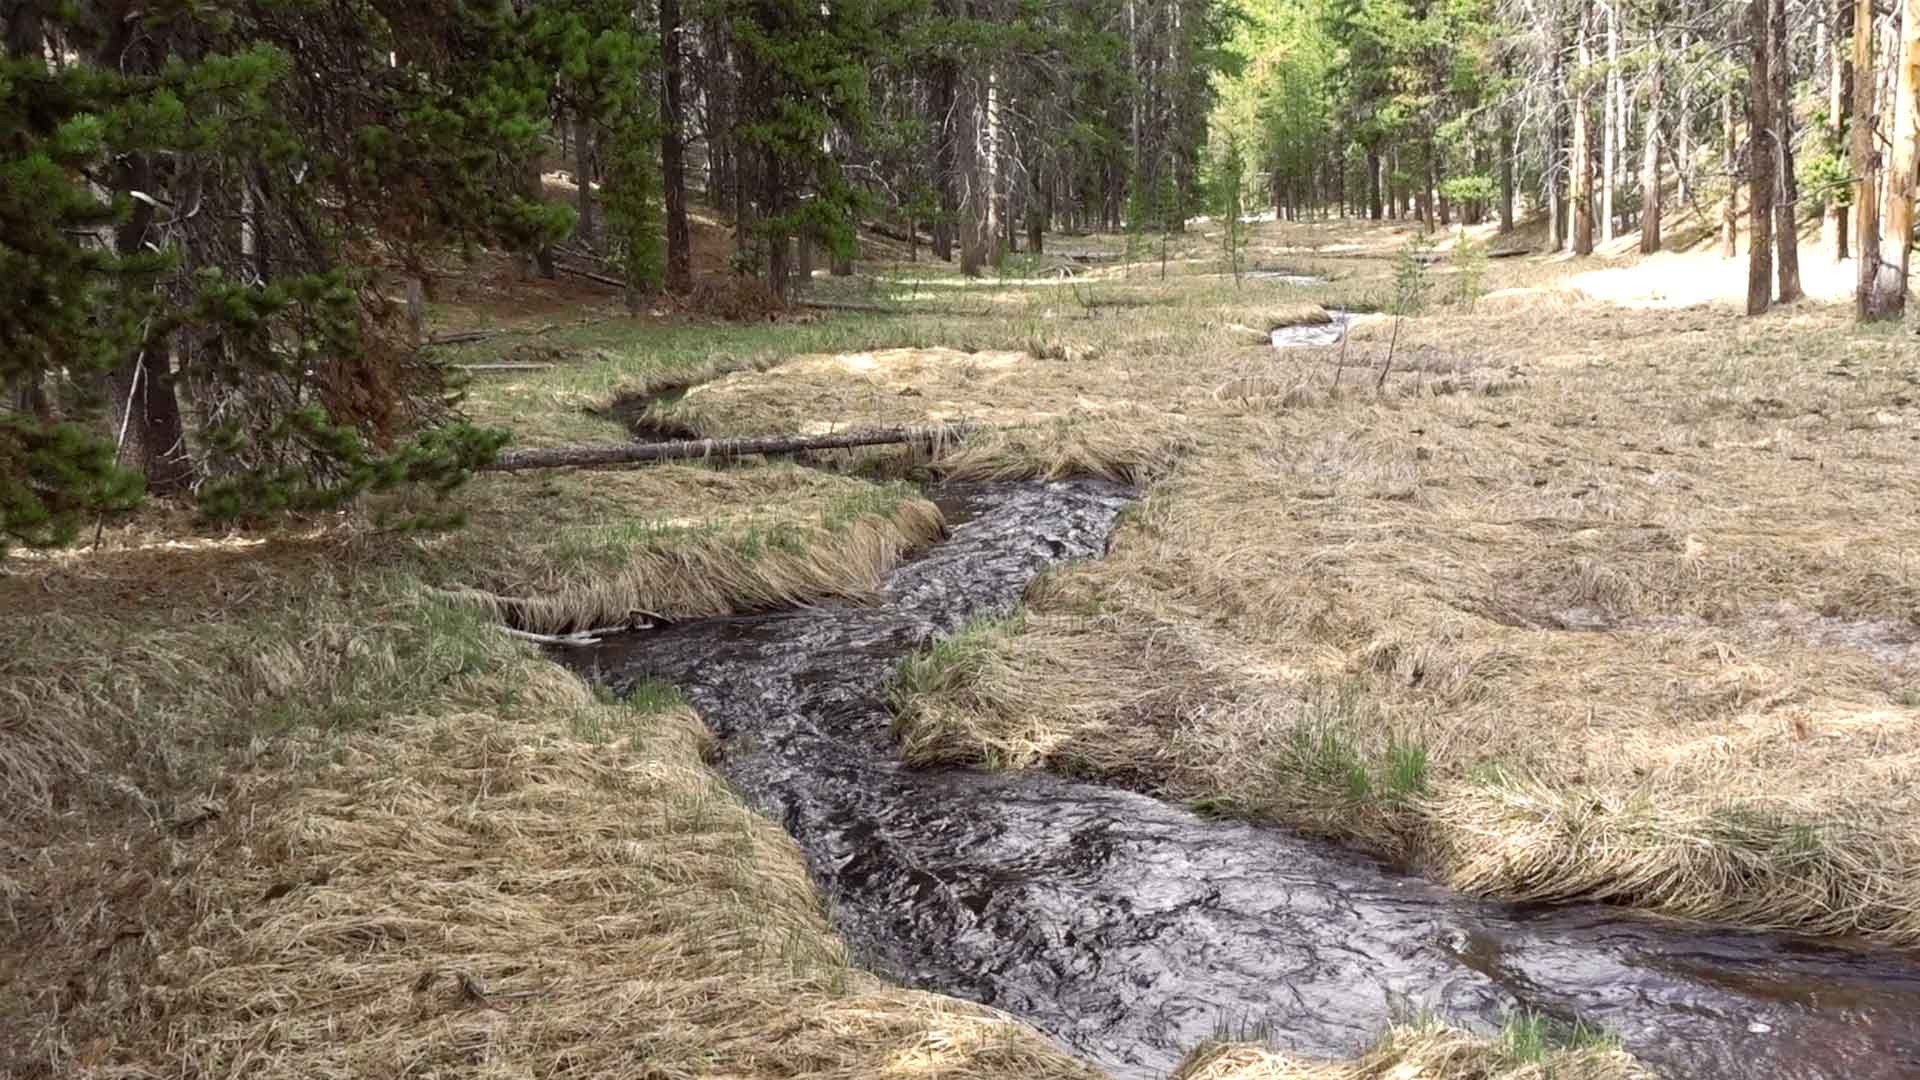
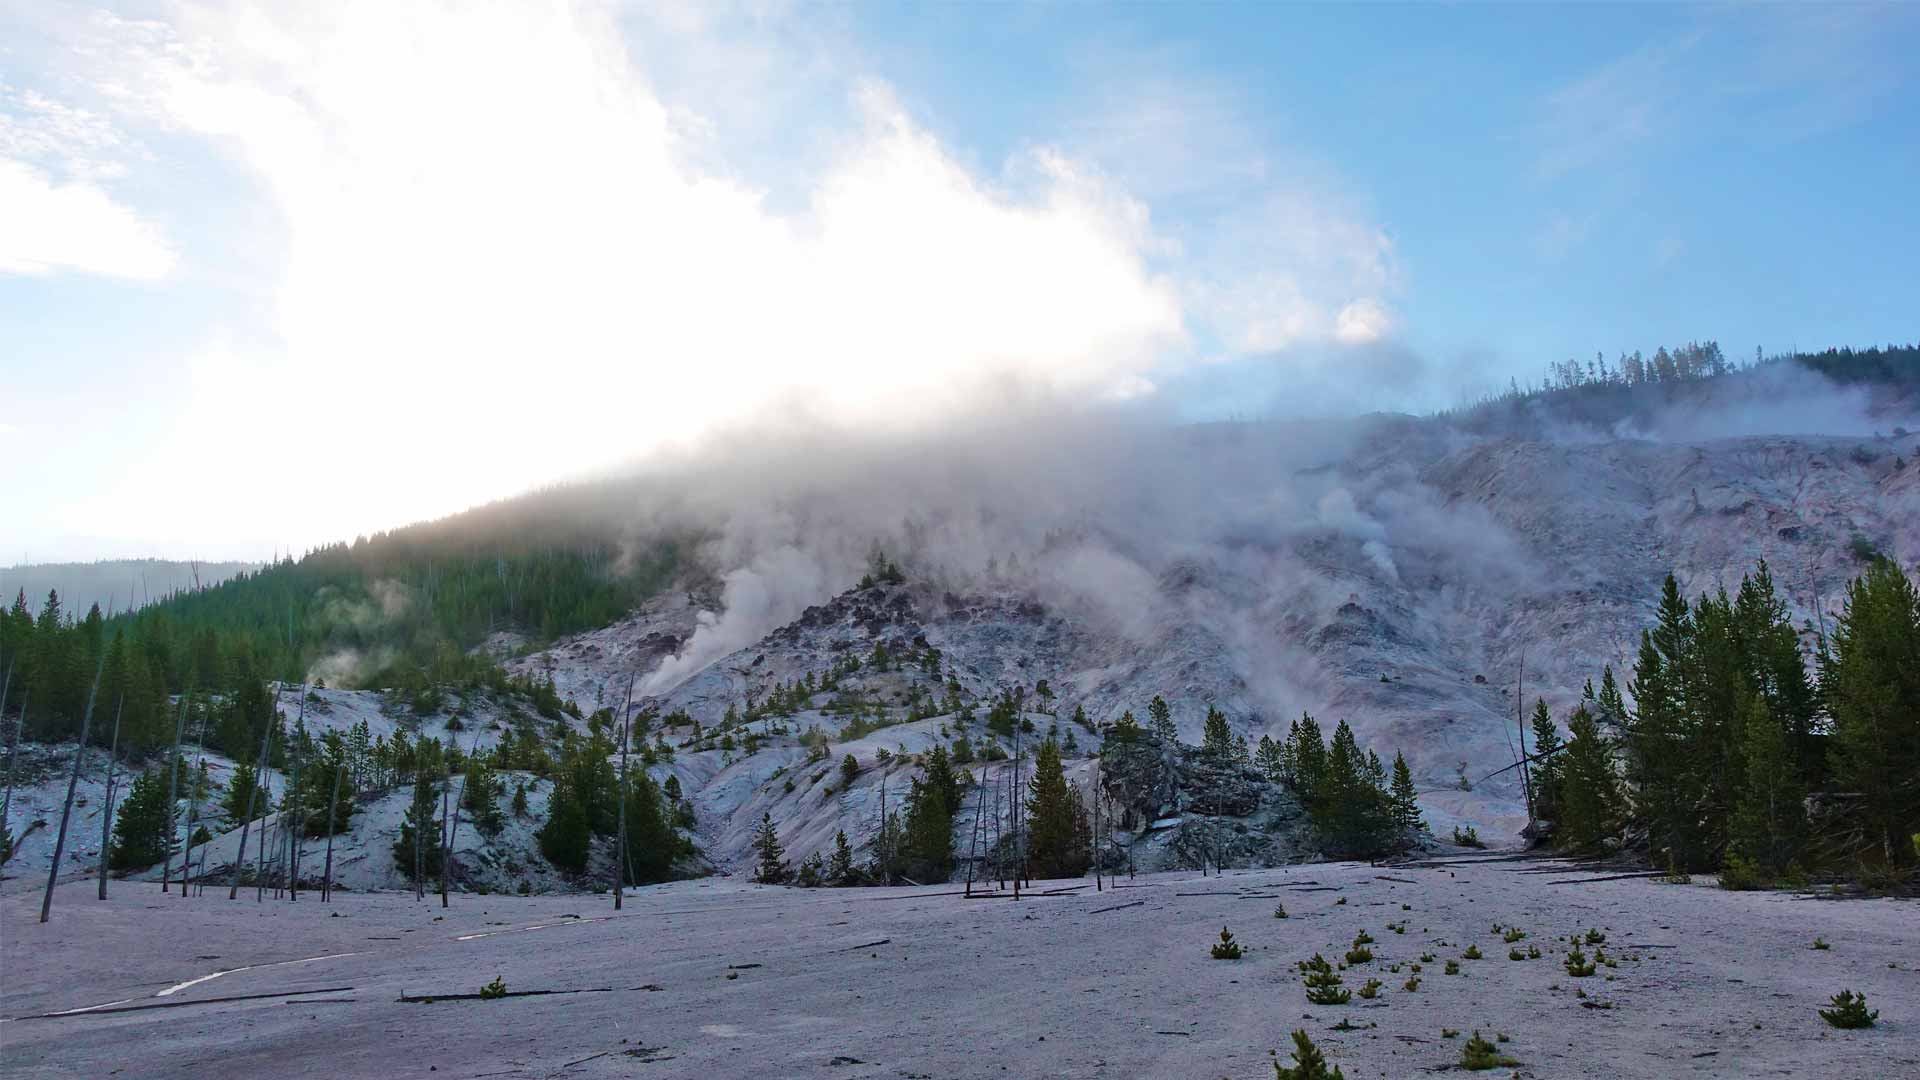
Rolling countryside with Bison and Elk and forested hot springs and sulfur fields. Secluded lakes with the chorus of frogs and birds, and solitary views of the Yellowstone Canyon and the waterfalls. Being able to be immersed in these environments without the crowds, boardwalks, or any obstructions is pretty amazing!
Must-Have For Hiking In Yellowstone National Park: Bear Spray
These types of backcountry hikes in Yellowstone are no joke, and doing them solo (like this here dummy…) is frowned upon. Yes, after seeing that nearly everyone employed in/near the parks carries bear spray, I stopped being so naive and bought this fairly inexpensive bottle of life insurance.
Especially if you’re solo, but even with groups, equip and know how to use bear spray and keep it handy.
It not only works for grizzlies or black bears, but will slow down most pissed off 4-legged creatures that might take offense to you trudging on their land.
It will at least slow them down long enough for you to figure out your next move. You can get it cheaper online before your trip, but make sure you know whether you can fly with it if you’re flying!
Beyond that, always assume a day hike could turn into an overnight. Carry enough gear to hunker down, stay warm, and stay hydrated and fed just in case. Carry a good map, and realize that cell signal is not really a thing in the backcountry. Heck, you’re lucky to get it most places in the park other than around the major junctions!
Helpful Links, Articles & Guides for Planning Your Trip To Yellowstone
Here are area-specific details on all of these places: Norris Geyser Basin & Norris Junction, Old Faithful Geyser & Grand Prismatic Hot Springs Area, Mammoth Hot Springs Junction & Tower/Roosevelt Junction, The Ultimate Yellowstone National Park 14-Hour Day Guide.
Cheers!
— Jason

About Jason Robinson
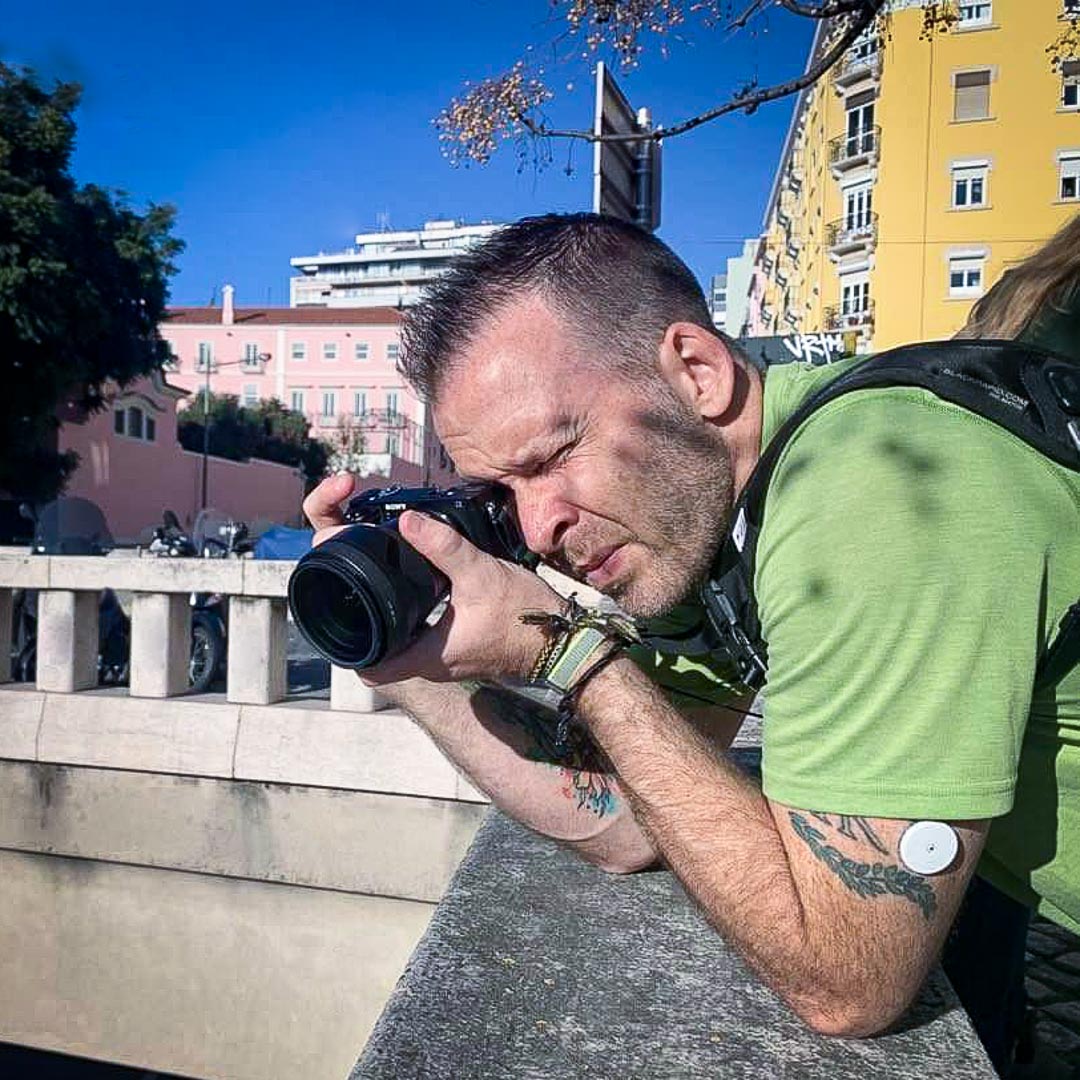
Jason is the author of “The Beginner Traveler’s Guide To Going Nomad,” as well as the voice behind the words and the eye behind the lens for The Nomad Experiment. “Planning to travel at some point” wasn’t actually getting the job done, so nearing 40 he decided to make it a priority, nomatter how scary that was. A few years later—through the pandemic and a type 1 diabetes diagnosis at age 42—now living a life of nomadic travel, he’s speaking out to encourage others of any age, or with any serious medical diagnosis, to live an unconventional life.
Connect & Share This Article
Travel Planning Tips
Figure out where you are going & how are you getting there…
I suggest using at least 2 to 3 different travel search sites. Start with Skyscanner or Orbitz or Booking …or whatever aggregator site you prefer. Then when you see what airlines to use, check their respective sites for better deals or rewards flights.
Figure out where you’re going to stay…
If you’re interested in hostels, search Hostelworld or Hostelling International. For longer-term or more private digs, look at Airbnb, VRBO, or you can look for hotel rooms in the links from the search engines listed above.
Get comprehensive travel insurance, or in the least, travel medical insurance if internationally…
Especially with Covid not going anywhere, get covered. Start with an insurance aggregator like Insure My Trip, or with SafetyWing, World Nomads, or another. Then decide what is important to you; trip cancellation, baggage coverage, medical, or all of the above. And get a yearly evacuation plan, since you’ll have to get home after your emergency!
Need more resources? Click here!


