Staying On Budget…Travel? You Need The “Trail Wallet” App!
The Trail Wallet App Help Me Stay On Budget…Whether Traveling Or Not
A lot of people wanting to learn how to better budget travel ask me questions like “how are you traveling so much” or “how do you manage your budgets when you’re on the road?” These are awesome questions to be asking, since that means they want to figure out how to travel more, and cheaper!
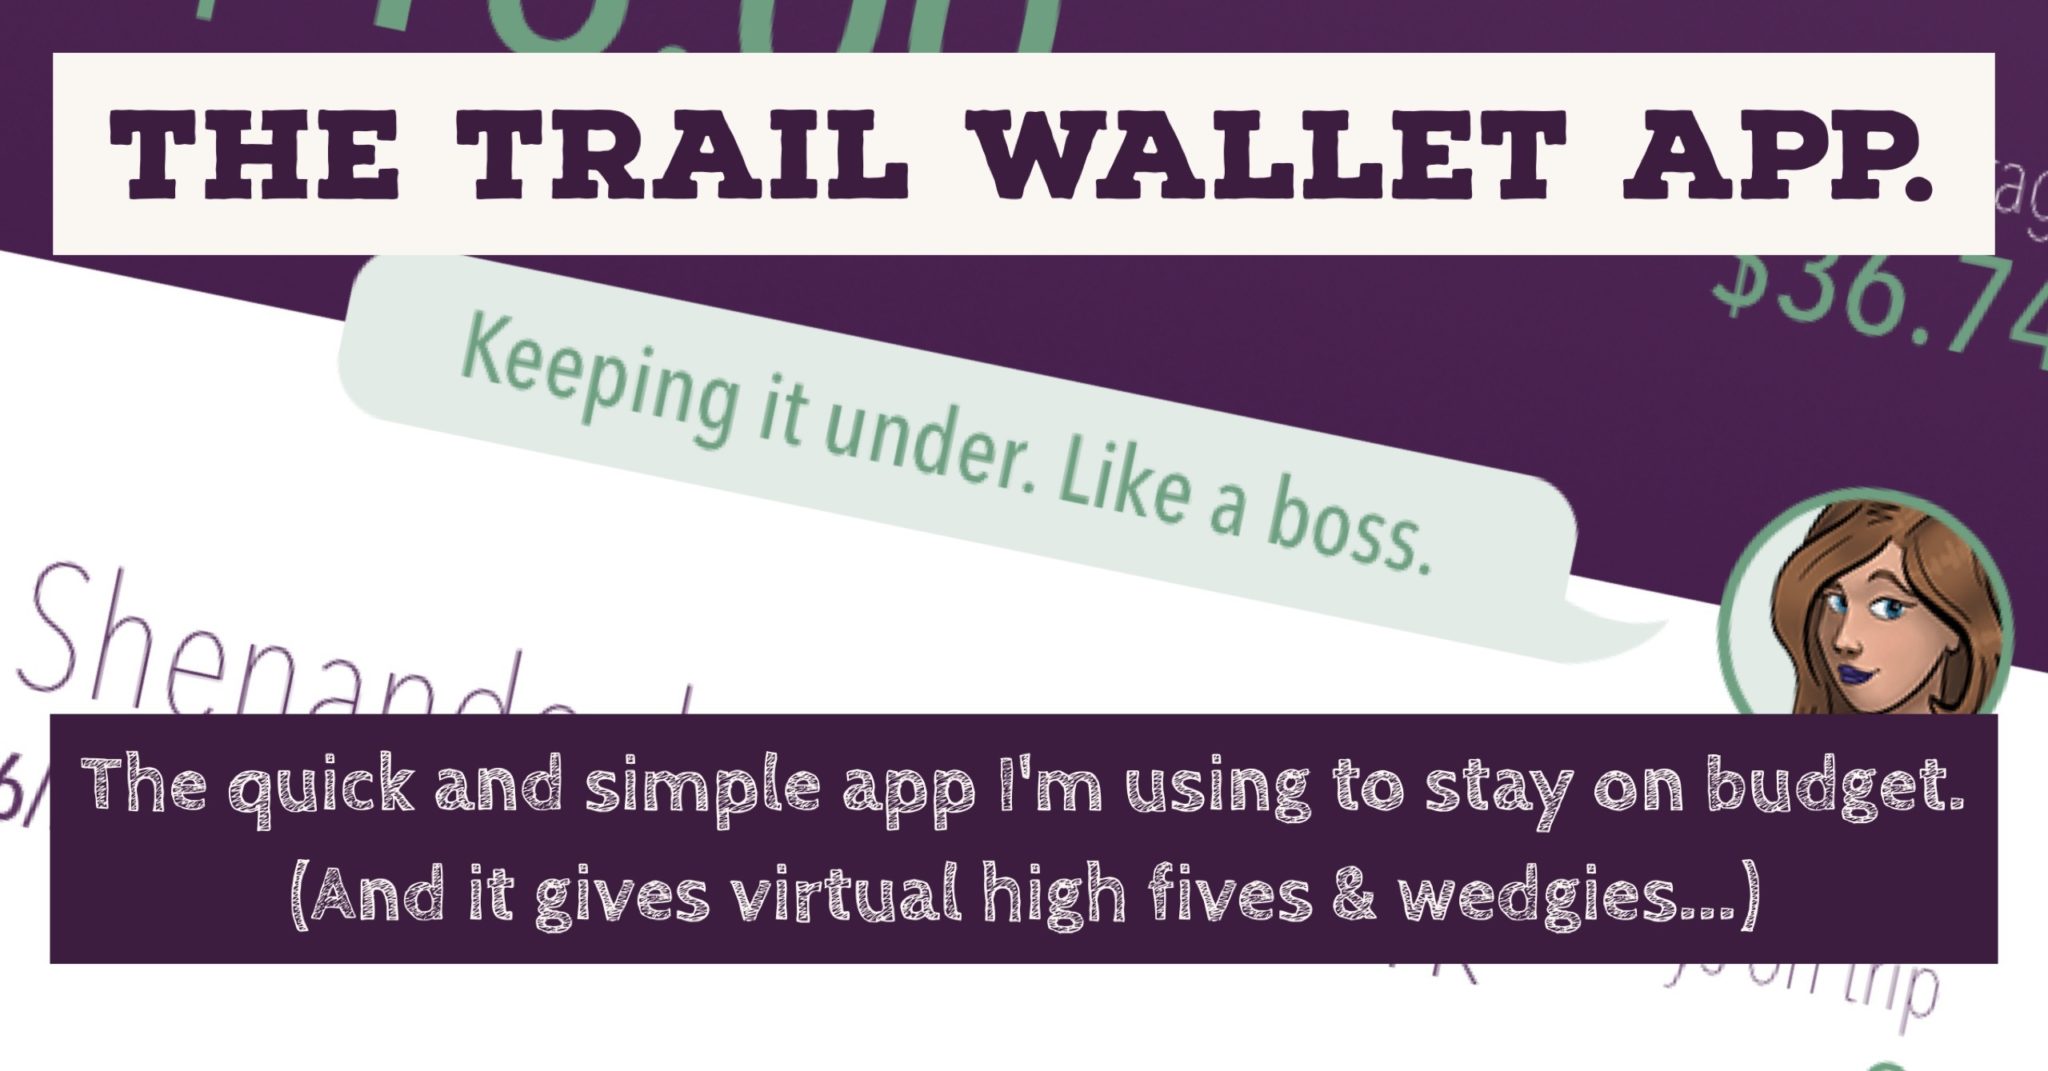
There are plenty of apps out there, but I’ve landed on the Trail Wallet app as my go-to, badass little helper. It even talks back—giving me motivational fluffers when I’m on point or busting my balls when I’m missing the mark.
The Trail Wallet app as my standard go-to for keeping myself in check on the road…and at home for that fact.
This site participates in the Amazon Services LLC Associates Program and other affiliate programs and may earn from qualifying purchases.
Budget travel means doing more, but cheaper.
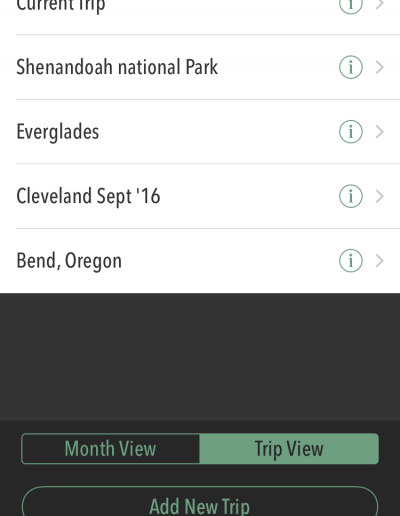
This typically means that the dull side of the coin shows that you’re making some concessions and “going without” a little bit. But the shiny side of the coin elicits different types of experiences than the typical tourist/traveler and the ability to travel longer. You might be passing on the $150 a night hotel at the base of Shenandoah National Park and instead choosing to “rough it” and camp 10 nights at the Loft Mountain Campground inside of Shenandoah for only $15 a night.
For me, I’ll take ten days in paradise over one anyday!
So back to this Trail Wallet app. It’s perfectly simple.
There’s not much to it, and the graphics are more Nintendo 64 than Wii U, but doesn’t that just make sense? What’s the point of some complex app when it’s really on your phone to accomplish some simple tasks of documenting and tracking your planned and actual spending.
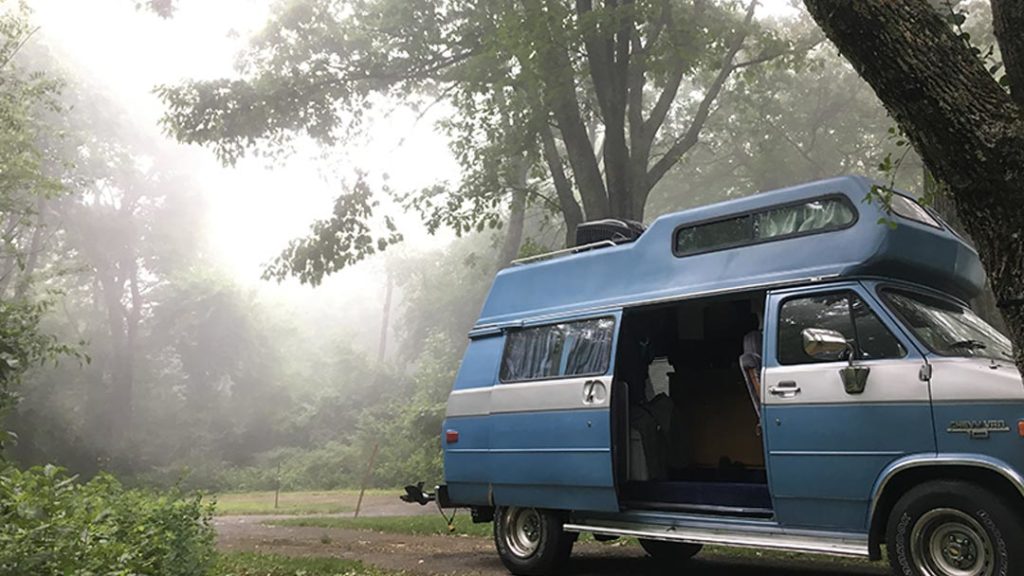
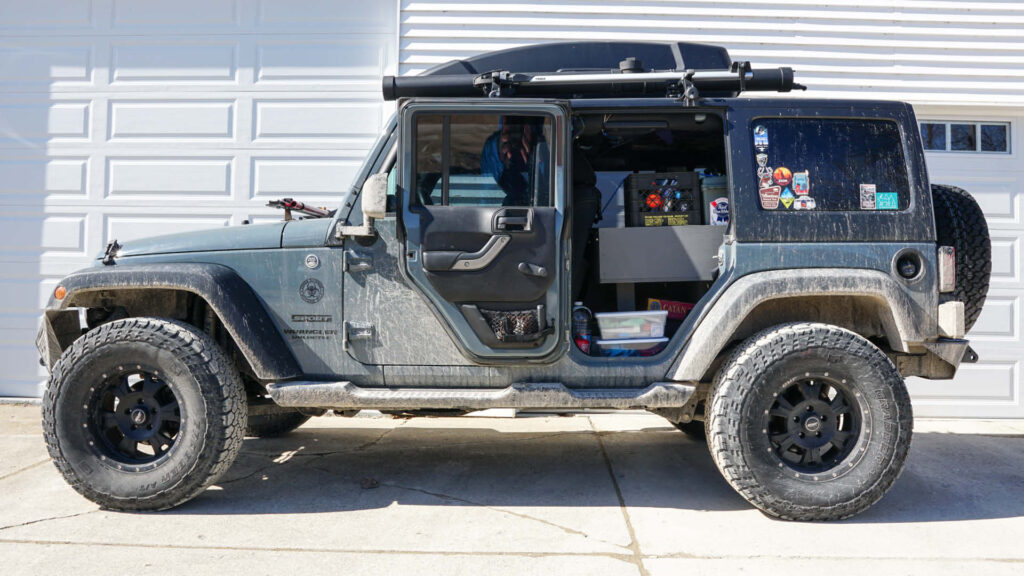
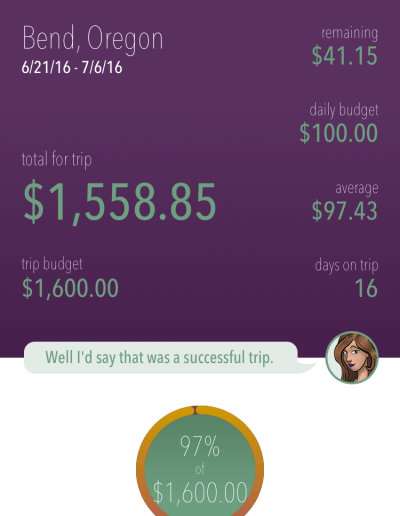
Trail Wallet helped me stick to less than $100/day in Bend, Oregon (including flights, AirBnBs, food, beer, rental car, etc.) for 16 days over the 4th of July weekend. It also helped me stick to $40/day on a five van/camping trip to Shenandoah, including gas (my big blue guzzles…) and everything else. That could have been even cheaper if I wasn’t traveling solo.
The breakdown; What Trail Wallet does well.
Simple Setup
From entering a trip to entering items, it’s just extremely streamlined and easy. Enter your trip name then jump right in and start adding items. Just hit the “+” button, type in your amount (no need for decimals if it’s round bucks), tap the category dropdown and hit save. Done and Done.
Daily Budgets
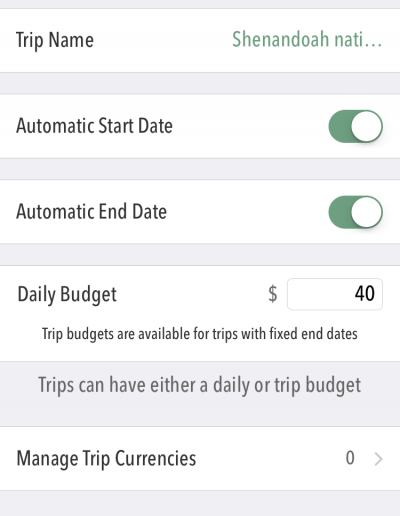
Since you just set up a new trip, you probably want to add a budget for that. Can’t do that from the input screen; you actually have to back out to your home screen (where it shows all of your trips) and hit the info button. From there you can change all sorts of things from start/end dates (if you don’t want to use auto…), daily budgets, trip budgets for when you have specific start/end dates and a fixed budget, and currency.
Easy Categories
Don’t think the baked-in categories are enough for you or specific enough? On your home screen tap settings and you can add categories and color code them (nerd) to your heart’s content. You can also purchase unlimited items there (essentially unlock the app…).
I think they give you like 25 or so items for free and if you want more you can pony up, which I was happy to do!
25 really only gets you using the app to know it’s good, but it’s barely enough for a whole trip assuming you’re spending on more than 25 things.
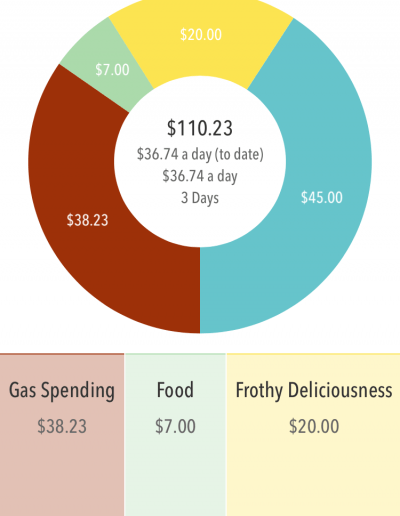
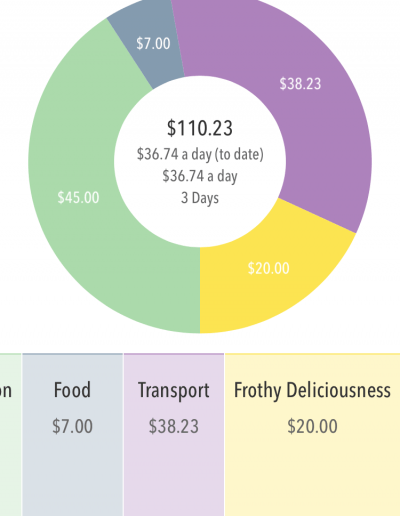
I’m a big beer drinker and thought that “food” wasn’t specific enough for me, so I actually made a “Frothy Deliciousness” category. I literally break out my adult beverage purchases from any of my food tabs so I can keep my shit in check. Turns out on a recent trip to Bend, Oregon I actually spent more on tasty beerness than on food for the whole trip. Priorities sucka!

The Timeline
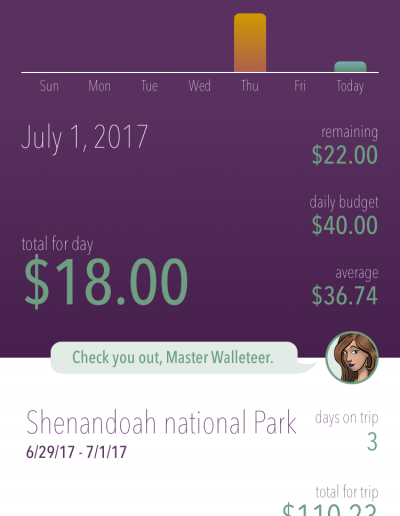
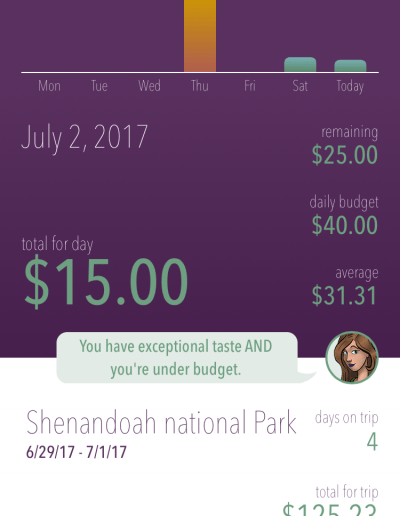
There’s a sweet little timeline at the top of each trip page that has a simple bar graph of the trip, each bar proportional to the amount of money spent on that day. Helps you see which days your spending was good or bad. You can also tap each day to quickly pull up a bubble showing that day’s spending.
The Graph
There’s a pretty sweet graph view of your trip that helps you see all of the categories together and how they compare to each other. This is how, at a quick glance, I knew I was carb-loading on that Bend trip…
And Most Importantly, Moral Support!
This is one of my favorite parts, honestly. Depending on the instance, there’s a different little face that pops up after you enter things to give you some shit if you’re over budget. But they also give you a virtual high five and some other words of awesomeness to encourage you to keep it up! Seriously, I can’t believe this is one of my favorite parts. But I guess, coming from a guy that used to send himself Christmas Cards with words of encouragement, I shouldn’t be surprised!

So bravo to the team that created the Trail Wallet app.
It was actually spearheaded by two guys traveling the world, living the dream, so I’m again happy to support them.
Go grab it now, and do them a solid and pay to get full access to support the little guys. I find that tracking expenses like this is key to keeping my shit together and not letting things get out of hand. Do it daily, if not ever time you spend on a trip. Knowing where you’re at in your spending is the best way to check yourself and not overspend.
Later gator.
— Jason


About Jason Robinson
Jason is the author of “The Beginner Traveler’s Guide” as well as the voice behind the words and the eye behind the lens for The Nomad Experiment. “Planning to travel at some point” wasn’t actually getting the job done, so nearing 40 he decided to make it a priority, nomatter how scary that was. A few years later—through the pandemic and a type 1 diabetes diagnosis at age 42—now living a life of nomadic travel, he’s speaking out to encourage others of any age, or with any serious medical diagnosis, to live an unconventional life.
Travel Planning Tips
Figure out where you are going & how are you getting there…
I suggest using at least 2 to 3 different travel search sites. Start with Skyscanner or Orbitz or Booking …or whatever aggregator site you prefer. Then when you see what airlines to use, check their respective sites for better deals or rewards flights.
Figure out where you’re going to stay…
If you’re interested in hostels, search Hostelworld or Hostelling International. For longer-term or more private digs, look at Airbnb, VRBO, colivings, or you can look for hotel rooms in the links from the search engines listed above.
Get comprehensive travel insurance, or in the least, travel medical insurance if internationally…
Especially with COVID not going anywhere, you need travel medical insurance nomatter what! Start with an insurance aggregator or with SafetyWing, World Nomads, or another. Then decide what is important to you; trip cancellation, baggage coverage, medical, or all of the above. And get a yearly evacuation plan, since you’ll have to get home after your emergency!
Need more resources? Click here!
This site participates in the Amazon Services LLC Associates Program and other affiliate programs and may earn from qualifying purchases.


